debt, Family, Food, money, post partum, pregnancy, prenatal, Stay at Home Mom, Uncategorized, Women, workout

Healthy No-bake Energy Bites and Simple To Make

These are a favorite go-to snack for me and my kids. My 3 year old and 1 year old loves them. They do have ingredients in them that you should not give to your child until they are over 1 year old. Just throwing that out there. I have been making a similar recipe for many years now but this one I made a bit healthier so I can kick start my healthy eating. I eat an 80/20 “diet” but I I’m trying to kick it up a notch. I also make these for the women’s event at church and they absolutely LOVE them! I didn’t tell anyone I made them just to see if they liked them, people kept going back to get more. They are also such an easy grab and go snack. I put three into a snack size Ziploc and take it to go. Super easy and healthy.

I hope you make these and enjoy them as much as we do!


Ingredients (picture below):

1 Cup Oatmeal

1/2 Cup Peanut Butter (I use natural, super chunky peanut butter to add more crunch to it, YUM!)

1/2 Cup Flaxseed

1/2 Cup Walnuts (I chop them up in the food processor)

1/3 Cup Honey

1 tsp Vanilla


Directions:

Put all the ingredients into a food processor and mix. I typically have to scrape the sides 1-2 times in the mixing process. You could just put everything in a mixing bowl and mix until all together if you do not have a food processor.

Put them into the fridge (I just leave them in the food processor) for 30-60 minutes.

Take them out and roll them into small bite size balls.

Put them into a container and put them back into the fridge.

Take out what you need and keep them rest refrigerated.

They are super simple and easy to make.


Enjoy!!


Live Healthy

Live Simple


Family, Food, post partum, pregnancy, Stay at Home Mom, Uncategorized, Women, workout

Pizza recipe revised and absolutely perfect! 

When I first set out to make pizza at home from scratch I found one recipe and kept tweaking it. I now have the best and most delicious recipe that I want to share. I love simple, I love easy and I love good food! I also found a pizza sauce without sugar added and without other junk added. It was maybe a dollar more but gosh, for $2.50 and using only half the bottle is darn cheap. Picture is down below.  Also, I cut out the oil out in the recipe and the crust is spot on amazing! I hope you get to try this recipe out, we absolutely loved it. 

Ingredients:

1 cup warm water

2 1/2 tsp yeast (I only use Fleischmann’s brand)

1/2 tsp raw sugar or regular sugar if that’s all you have 

1 tsp garlic powder

1/2 tsp salt

2 1/2 Cups White whole wheat flour (I only use King Arthur brand)or just regular white flour if that’s all you have

Shredded cheese

Pepperoni or whatever topping you like

Pizza pan
Directions:

Warm you mixing bowl by adding hot water and let it sit for 1 minute. Pour out the water and then start your first ingredient.

Add 1 cup of warm water to mixing bowl, yeast and sugar. Mix the yeast mixture enough to make sure all the ingredients are wet. Let it sit for about 5 minutes until yeast rises. 

Add flour, salt and garlic powder and mix the ingredients with a dough hook until all are mixed together. 

Lightly flour a counter and put dough on it. Let it sit for about 10 minutes. Sometimes I let it sit more if I get sidetracked, which is very easy with kids. Ha! 

Now is the time to preheat your oven to 425 degrees. 

Once the dough is done sitting, roll the dough out into a circle or whatever shape you need for your pan. I make sure the dough is about an inch over on the sides so I can roll it up to make crust. 

Lightly spay your pan with cooking spray.

Put the pizza dough on pan and roll the sides up two times. Make a small crust border. Not sure how else to explain it, ha! 

Set aside and let it sit for about 10 minutes. I know, sounds like a lot of waiting…..but you want a really good tasting homemade pizza right? It also gives me time to clean up the kitchen and tend to my boys. That way I don’t have a mess to clean up after dinner is done. 

After the 10 minutes, add the pizza sauce.

Add the desired amount of cheese

Add your toppings. Our favorite is pepperoni. I use the Applegate pepperoni brand. It’s way healthier than other brand. And they do not have nitrates in it. Thank goodness for that. 

Put in your preheated oven for 20 minutes. Check the pizza to see if it is brown on the edges. If not keep in the oven for 5 more minutes. Our pizza came out perfect in 25 minutes. 

Cut and enjoy! Try not to eat the whole pizza at once. Hehe! 
If you have any questions just ask me! 

Live healthy

Live simple

Family, Food, post partum, pregnancy, prenatal, Stay at Home Mom, Uncategorized, Women, workout

Simple Two Ingredient Ice Cream

Our family absolutely loves ice cream. If I could eat it all the time and not get fat, I would. But since ice cream is fattening I wanted to try making banana ice cream that I see online a lot. I was skeptical at first but once I tasted it, oh man is it good! I tried strawberry ice cream first and will be testing out different flavors very soon. It is very inexpensive and so darn yummy, you should try it out. It is also toddler and nine month old approved. They absolutely love it! 

Ingredients:

Bananas 

Strawberries

Directions:

Wash, cut the tops off the strawberries and put them in a freezer bag and freeze

Peel the bananas, cut into pieces, put them in a freezer bag and freeze. 

Once frozen, take the bananas and strawberries out. 

Put the bananas in the food processor and blend for about 3 minutes or until it has a smooth/ice cream like texture. 

Out in the frozen strawberries and blend for a minute. It really depends on if you like chunks of strawberries or just smooth. So really gauge the blending on your liking. 

Done

Scoop and serve. It’s hard not to eat a lot at once 😜
Live healthy

Live simple

Family, Food, pregnancy, prenatal, Stay at Home Mom, Uncategorized, Women

Homemade Tortilla’s

Making tortillas at home is super easy. I also really love the fact that you know every ingredient that is in them. Takes about 30 minutes from beginning to end so you can make them last minute.


Ingredients:

4 Cups All-Purpose Flour

1 tsp Salt

2 tsp Baking Powder

2 Tbsp softened butter (I used salted)

1 1/2 Cup Water

Directions:

Put flour, salt and baking powder in a bowl and whisk together. Put the softened butter in and whisk together well. Add the water in slowly and mix together. Place onto a lightly floured counter. Knead the dough for a minute or two and then divide into 20 pieces. Roll each piece into a ball.

Preheat a large cast iron pan (Or skillet pan) over medium heat. Roll a ball into a thin round tortilla. Place onto the preheated pan and cook until it bubbles, about 1-2 minutes. Flip to the other side and cook for another minute. Place warm tortilla onto a plate covered with parchment paper. I place a dry and clean kitchen towel over the cooked tortillas.

And, enjoy!


Live Homemade

Live Simple


breastfeeding, debt, Family, Food, pregnancy, prenatal, Stay at Home Mom, Uncategorized

Goals Met….and Homemade Pizza Recipe

I firmly believe if you set your mind to something you can achieve that goal.

This morning when I put on my pants I was able to tighten my belt one notch!! That is amazing!

My first goal was to lose the weight I gained, check. I was at my pre baby weight way faster than last time. Thankfully! I am also at my first weight goal-125 lbs. That has honestly been my goal almost my entire life. For some reason being this exact weight I feel great! I know that if I were famous I would be considered obese, but I’m not.

The second was to get stronger than I have ever been, check.

I have no idea why it is easier this time around. Maybe I have a bit more motivation since I know I will not be getting pregnant again.

My next goal is to tone up more and lose 5-10 more lbs. I just want to be a bit slimmer and toned more. If they are right about holding onto 10 lbs of fat when you are breastfeeding, then Ill just have to wait for a year and a half if he breastfeeds that long, Lord willing.

I want to encourage to women who have negative people around them. Especially about baby weight. It is possible to lose the baby weight, it is possible to workout when you have children, it is all possible. I am super thankful to have a supportive husband also. Without him, this all would be a lot tougher.

Get up and go.

I used to have all the excuses in the world not to get up and workout but I feel SO amazing after. I just keep going and training my body in different ways so I don’t get caught up in the mundane. I also limit my cardio and lift more weights. I used to be more about cardio but I really want to just tone. I am pushing my body more and more and constantly.

Also, kids love to be active and if you are active with them then you can get a lot of exercise. Don’t forget to eat healthier. I am not the healthiest eater but I do not over eat, that’s for sure. Except when it comes to pizza nights. Every Friday I make homemade pizza…..YUMMY! Speaking of pizza on Friday nights, I am off to start making it! Have a wonderful weekend!


Live healthy

Live Simple

debt, Family, Food, money, pregnancy, Stay at Home Mom, Uncategorized, Women

Simple Homemade Bread Recipe

This bread recipe I have been making for a really long time. I just started to make it again because it is way cheaper, you know all the ingredients and it is super yummy! Homemade bread just tastes SO much better than store bought. In my opinion. It is super easy and there are not a ton of ingredients.

Here are a few tips to start out with: I make it with almond milk. Almond milk? Last night when I made it, I swear it actually tastes better than when I used regular milk. Try it out! I used Silk almond milk Regular. Im sure you can use any kind but that is what I used. If you want to use cow milk that is perfectly fine also, just giving you an option. I also used salted butter last night, I really do not like salt but when I went to Costco and bought butter…..I accidentally bought salted :(((  So if all you have is salted, It’ll still taste yummy! Also, this time around I used unbleached white flour, that was all I had in the house. I have used whole wheat also and it tastes great! If you want to try to have whole wheat flour I suggest starting with 50/50 blend. 50% white, 50% whole wheat. Whole wheat flour bakes a little differently so the bread texture is a little different. I have found that you may need more of less whole wheat flour versus white flour alone.

What you need: 2 bread pans or just cut the recipe in half to make 1 loaf. Easy. Cooking spray or just use butter in the loaf pan(s) so the bread does not stick. And of course the ingredients 🙂

Ingredients:

1/2 Cup Silk Almond milk

3 Tbsp Sugar

2 tsp salt

3 Tbsp melted butter

5 tsp yeast (I only use fleischmann’s yeast=amazing)

1 cup warm water

7 cups flour

Warm up your mixing bowl by filling the bottom up with warm/hot water. Let it sit for a minute and pour out.

  1. In warm mixing bowl add 1 cup warm water, yeast and 1 tsp of the 3 Tbsp. Set the rest of the sugar aside for later. Let yeast rise for about 5 minutes.
  2. Add melted butter, almond milk, sugar and salt to the yeast mixture. Mix until just mixed together.
  3. Add 4 cups of flour and mix with bread hook.
  4. Add 1 cup of flour at a time until your dough is sticky but not stuck to your finger when you touch it.
  5. Once you are done adding the flour mix the dough on low for 10 minutes.
  6. Take dough out and place onto a lightly floured surface.
  7. Grease the mixing bowl, I used butter to lightly grease the bowl. You can also you cooking spray if you like.
  8. Put the dough back into the greased bowl and place a clean and dry kitchen towel over the top. Let it rise for 1 hour. While you are waiting I suggest greasing the bread pans. Again, I use butter to grease the pans but you can use cooking spray. Clean up and relax and drink some coffee while your at it 🙂
  9. Once the hour is up; punch the dough down 2-3 times. Put the dough onto a lightly floured surface. Cut the dough in half and set one-half aside. Roll one-half of the dough into a rectangle. Make sure the length is not longer than the bread pan. Tightly roll the dough (width wise) and pinch together so there is no seem. Place the bread into the greased bread pan.
  10. Repeat with the other half of the dough.
  11. Cover the bread pans with a clean and dry kitchen towel and let it rise for one hour.
  12. Preheat oven to 400 degrees. I normally turn the oven on when I have 15 minutes left to wait.
  13. Place the bread carefully onto the middle rack in the oven and close the oven door super slowly so the bread does not collapse.
  14. Bake for 30 minutes
  15. What I’m going to tell you will sound painful but I honestly have never burnt may finger and I’ve done this A LOT. Put spit onto your finger and tap the middle of the pan to see if it sizzles. If it does then your bread is done. I was taught to test bread and rolls that way since I can even remember.
  16. Take bread out of pans right away. Let it cool on a cooling rack before slicing (good luck with that, HA) I love fresh out of the oven bread. Yum Yum


Enjoy!! I hope you love the bread as much as we do. We are already more than halfway done with the first loaf and I just made it last night.

Live Simple

debt, Family, Food, money, pregnancy, prenatal, Stay at Home Mom, Women

Critics, marriage, babies-let them be your biggest motivators 


The only place to take a full picture of myself is at church. So I took one. Finally. It feels weird to whip out my phone and take a picture. Of myself. At church. But I’ve thought about it week after week and finally did it. I feel SO darn proud of myself in taking control of my weight. 

See. I’m not “into myself”, I don’t think I’m “hot”, I really don’t think I’m pretty if you want to know. But I do know this. I have grown up struggling with my weight. My whole life!  I’ve been on so many different diets, weight lose pills and also tried to be bulimic. Yuck! I lose weight, gain a s*** ton, kinda lose it again, it’s all just vicious cycle. Until I got married…..that’s when I took control of my weight.

People typically say that when you get married you gain the marriage weight. People also told me when I got pregnant that I would never lose my weight. I  was literally laughed at. A lot. By more than one person. I told them that I wanted to be a fit mom and lose all the weight I gained. Good luck, they told me. I was told different stories about how they never lost their weight after pregnancy. What a let down. I was also told it was really hard because I would be SO tired and not motivated. Well crap, I thought. Just one more thing I didn’t need, negativity. I was thinking I really hope I am not like that. It got me down, a lot. It made me feel, well, horrible. And then I thought……CHALLENGE ACCEPTED! 

Here I am two babies later and 20 lbs less than when I got married. 20 lbs!!! I beat all odds apparently. I am that “fit mom” I wanted to be. I have a lot of energy. I like to play with my boys in ways that I would be able to if I had not lost weight. I can run around the playground, go on walks and show my boys what healthy living is. We are far from perfect about what we put in our bodies but we try to lead by example. I try to feed our family good foods but we also treat ourselves to regular junk foods. Remember your kids don’t buy their own foods, we do. Also, what we don’t have at home we won’t eat. I really believe that my consistent working out and watching what I eat has helped me. I drink my Smoothies every morning. Up your fiber content, drink plain black coffee instead of adding junk, drink water and stay positive. My body cannot process high protein amounts so I tend to eat more fiber foods. I do eat ground turkey, brown rice and black beans for dinner a lot! Omg it taste so good. 

Now that I have gotten to my first weight goal I can start to get to my ultimate weight goal. I would also like to be a motivator for others. If I could even just help one person get motivated to eat better and workout I’d be SO happy! I know it’s a new year and people are looking for ways to get their New Years resolution going. 

My advice would be to 

1. Start somewhere. 

2. Start small and work up

3. If someone is not helping you get to your goal but instead getting in the way, fix it. Distance yourself from that person. I had to do that because some people really do not want to see you succeed. I have many examples, if you want to just ask 🙂 I’ve actually stopped hanging out with a lot of people because they were not healthy for me. It might sound hard but it’s not. 

4. Stop making excuses. I’ve heard so many from people about how they cannot lose weight, eat healthy or go workout. Walking outside is free. A few dumbells are really cheap. YouTube exercise videos are free. Eating healthy isn’t that expensive. When I lived in California I used to shop at Sprouts, mega cheap and we had a ton of veggies and fruit. Over here in Virginia…..it’s a little more expensive. But we still buy it! Whole Foods, Trader Joe’s and Harris teeter are our go to for foods. No-GMO’s!!!

5. Start somewhere. Yes, I repeated number one because it is SO important to just start!!

Live healthy
Live simple

Christmas, debt, Family, Food, Hair, money, pregnancy, Sewing, Stay at Home Mom, Uncategorized, Women

Get out of debt

When we first decided to kick our debt to the curb it wasn’t that easy. When you grow up not being taught how to manage your money. Not taught how bad credit cards are, isn’t a high credit score good after all? I was taught to get a credit card and get a credit score. I was not taught how to invest. Budget. What’s that?I just knew I needed a job to pay my bills and hope to one day….Idk I had no idea what I was supposed to do. I did not have a dream of being anything. I didn’t want to be a stay at home wife. I actually never wanted to get married and have kids, that is a whole different topic. No Cinderella dreams over here. Ha! It is kind of sad when you think about it.  And here I am, married for over 4 years, two kids and stay at home mom. Interesting how thing work out for the good 😍

I read this Article from Dave Ramsey’s website today and agree with it all. We have literally done it all. Or gone through it.

1. The doubt was enormous but once we made our budget and starting plowing through or debt i was optimistic. 

2. We really got gazelle intense! I was looking in every direction on how to save and pay off. 

3. I listened to Dave Ramsey Podcast, all three of them. Everyday. While I worked out. Cooked. Cleaned. I loved it. It is SO motivating! I was able to learn so much. It also helped me give money advice to others. Pretty darn cool. 

4. Oh my goodness did we sell. We sold so much our dogs thought we were moving. Haha! No joke. We had about 1/4 of the stuff we moved with and it felt AMAZING! We live a pretty simple life now and I never want to go back to the “old us”. 

5. Bargains. Yes, varage sale is huge in California so I bought used everything. I tried to get as much free stuff also. A lot of people just want to get rid of things and I loved it! Of course I sanitized everything but I never minded second hand stuff. 

6. Budgeting. Not the most desired thing for me but I started to love it. This is such an important step when getting debt free. Tell your money where to go, every penny of it. 

7. Cash. It gives me a bit of anxiety to use cash….at Costco. But once I started using cash it got easier. I treat it like a game, a challenging one. I also save the change for a rainy day. It’s amazing how fast change adds up. 

8. Family. Yes. My husband and I were on board from day one. It would have been impossible to do this without him. 

9. Work hard was an understatement. My husband, he is amazing! He worked SO much overtime. He would work hard around the house on weekend to save money also. I also worked my hardest to make homemade everything and fix stuff myself. Sometimes a second job is needed. Thankfully we are doing it without. 

10. When you are able to see how the progress is going it can be very motivating. I have it written on our dry erase board. 

11. The word no. Oh gosh, that’s a hard one for me. My husband, not so much. He is good at saying no. Learning how to say no was probably one of the hardest things ever!

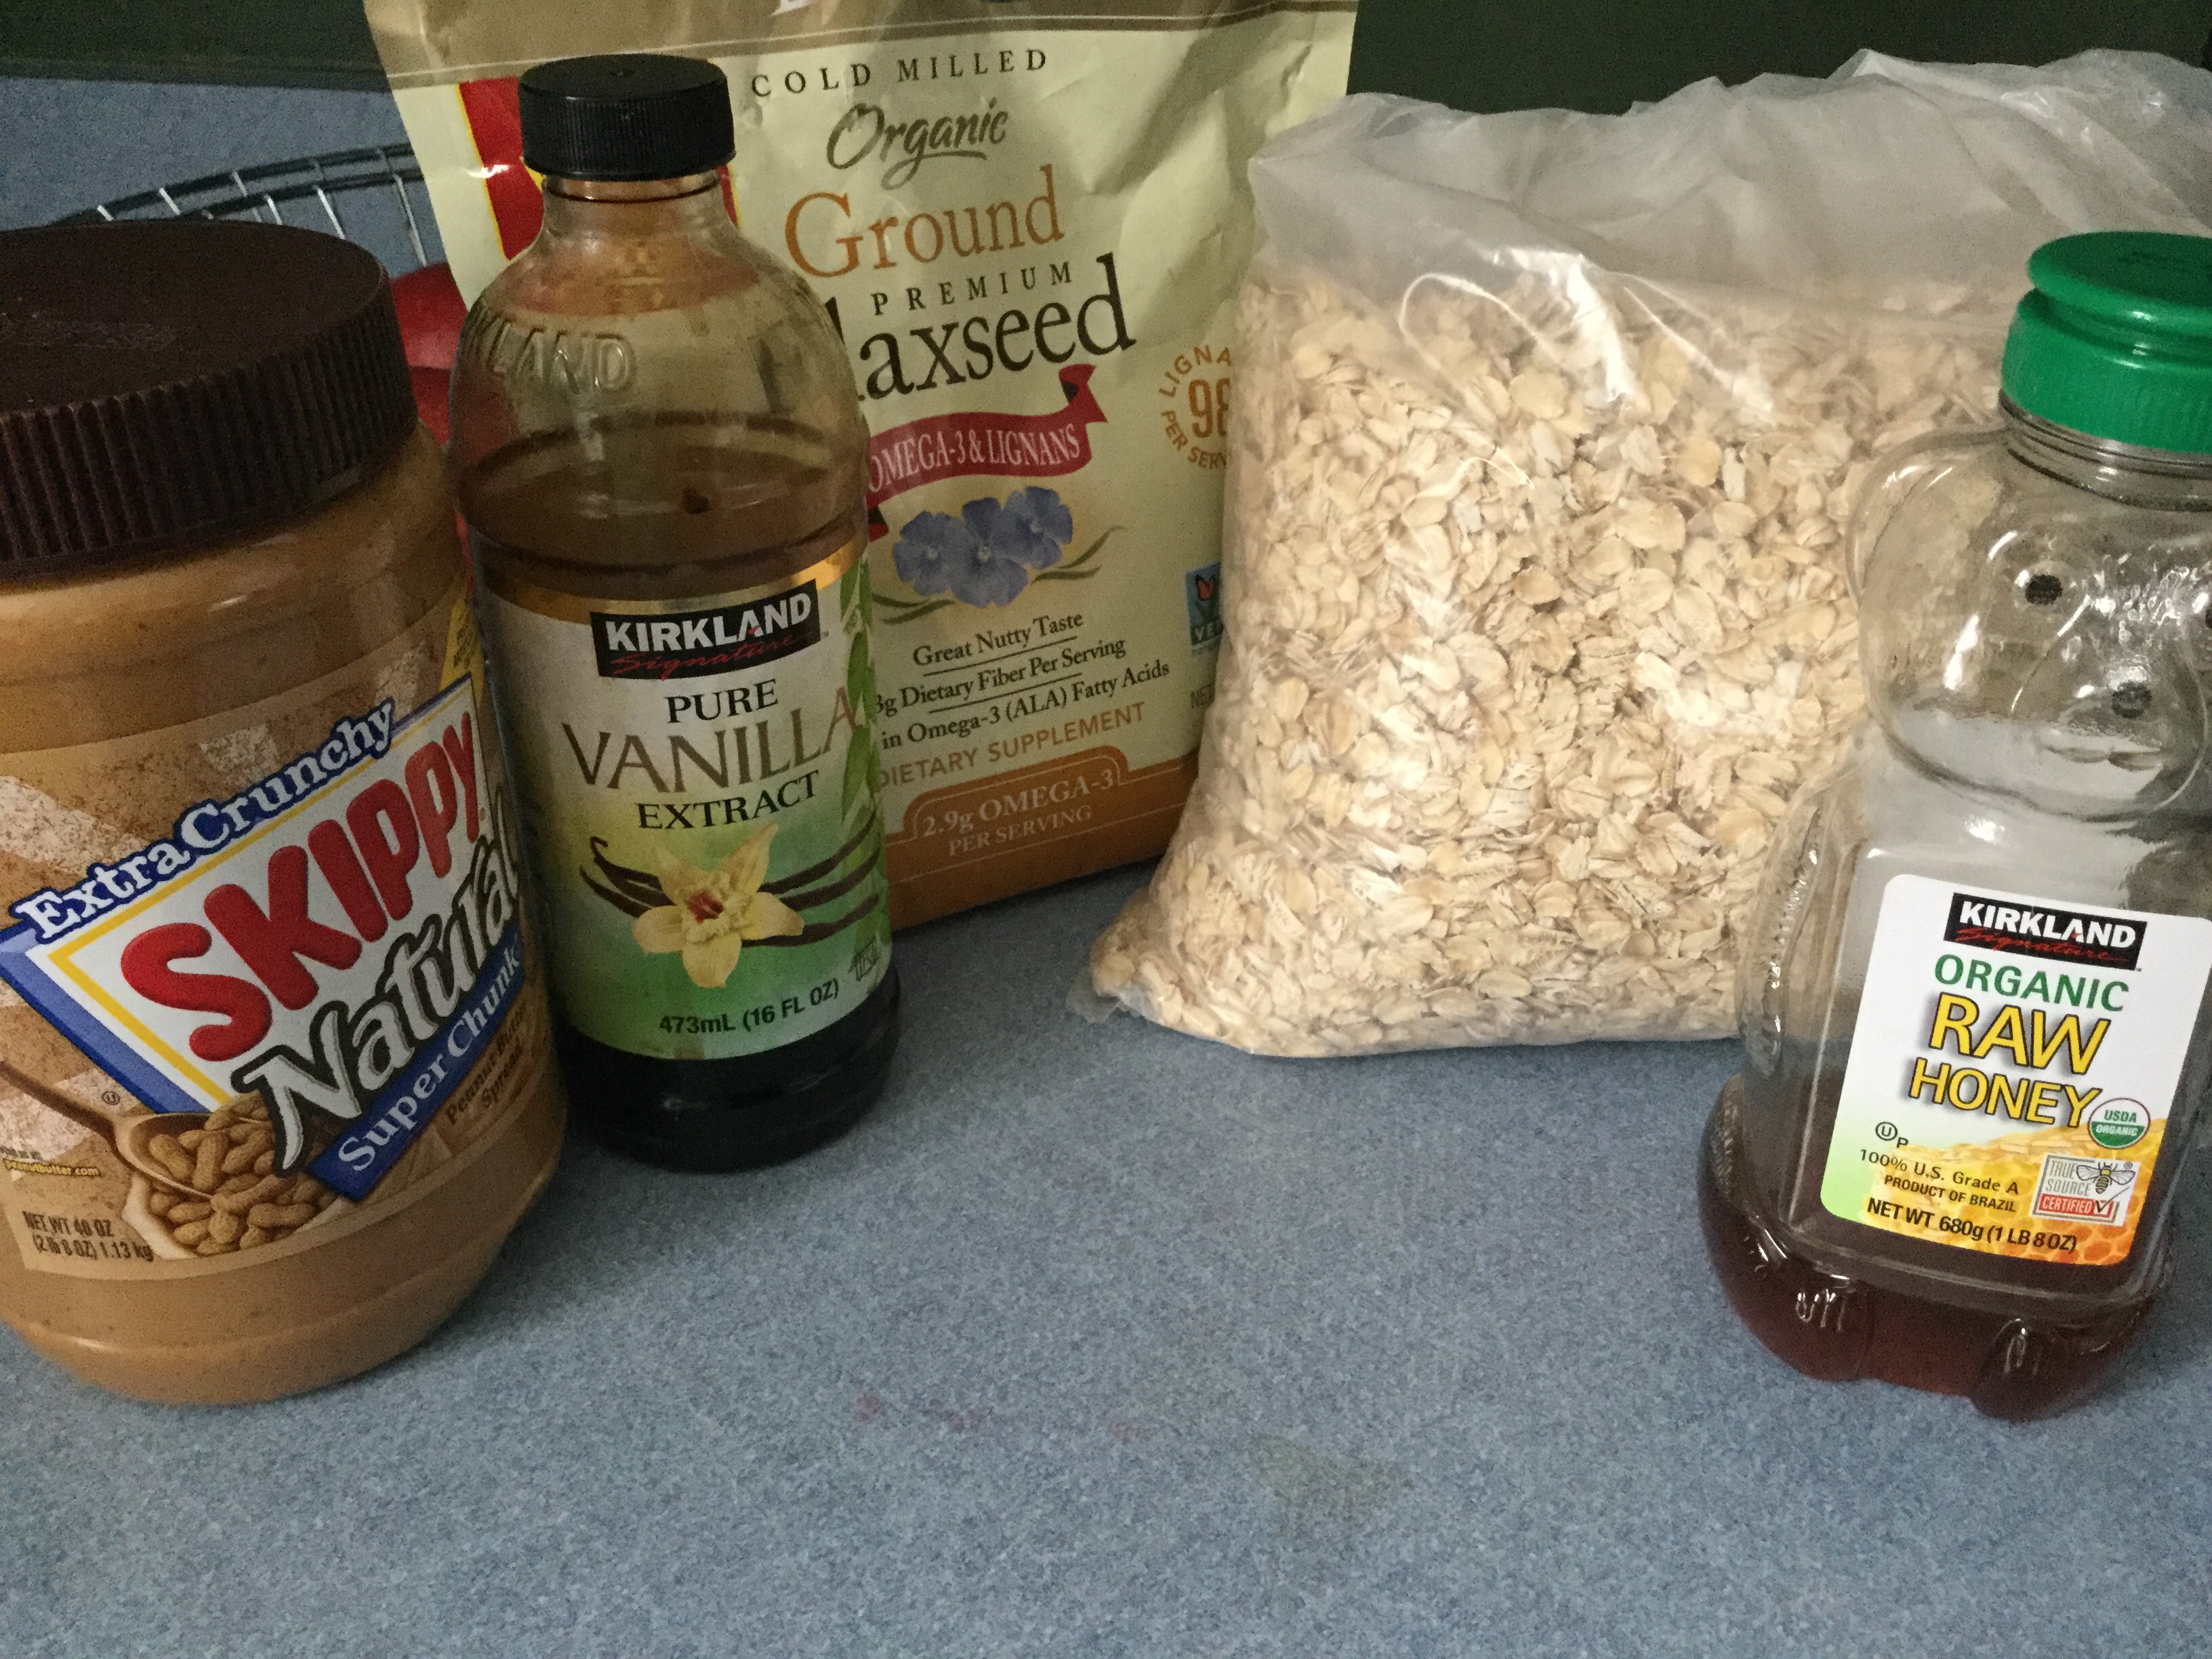
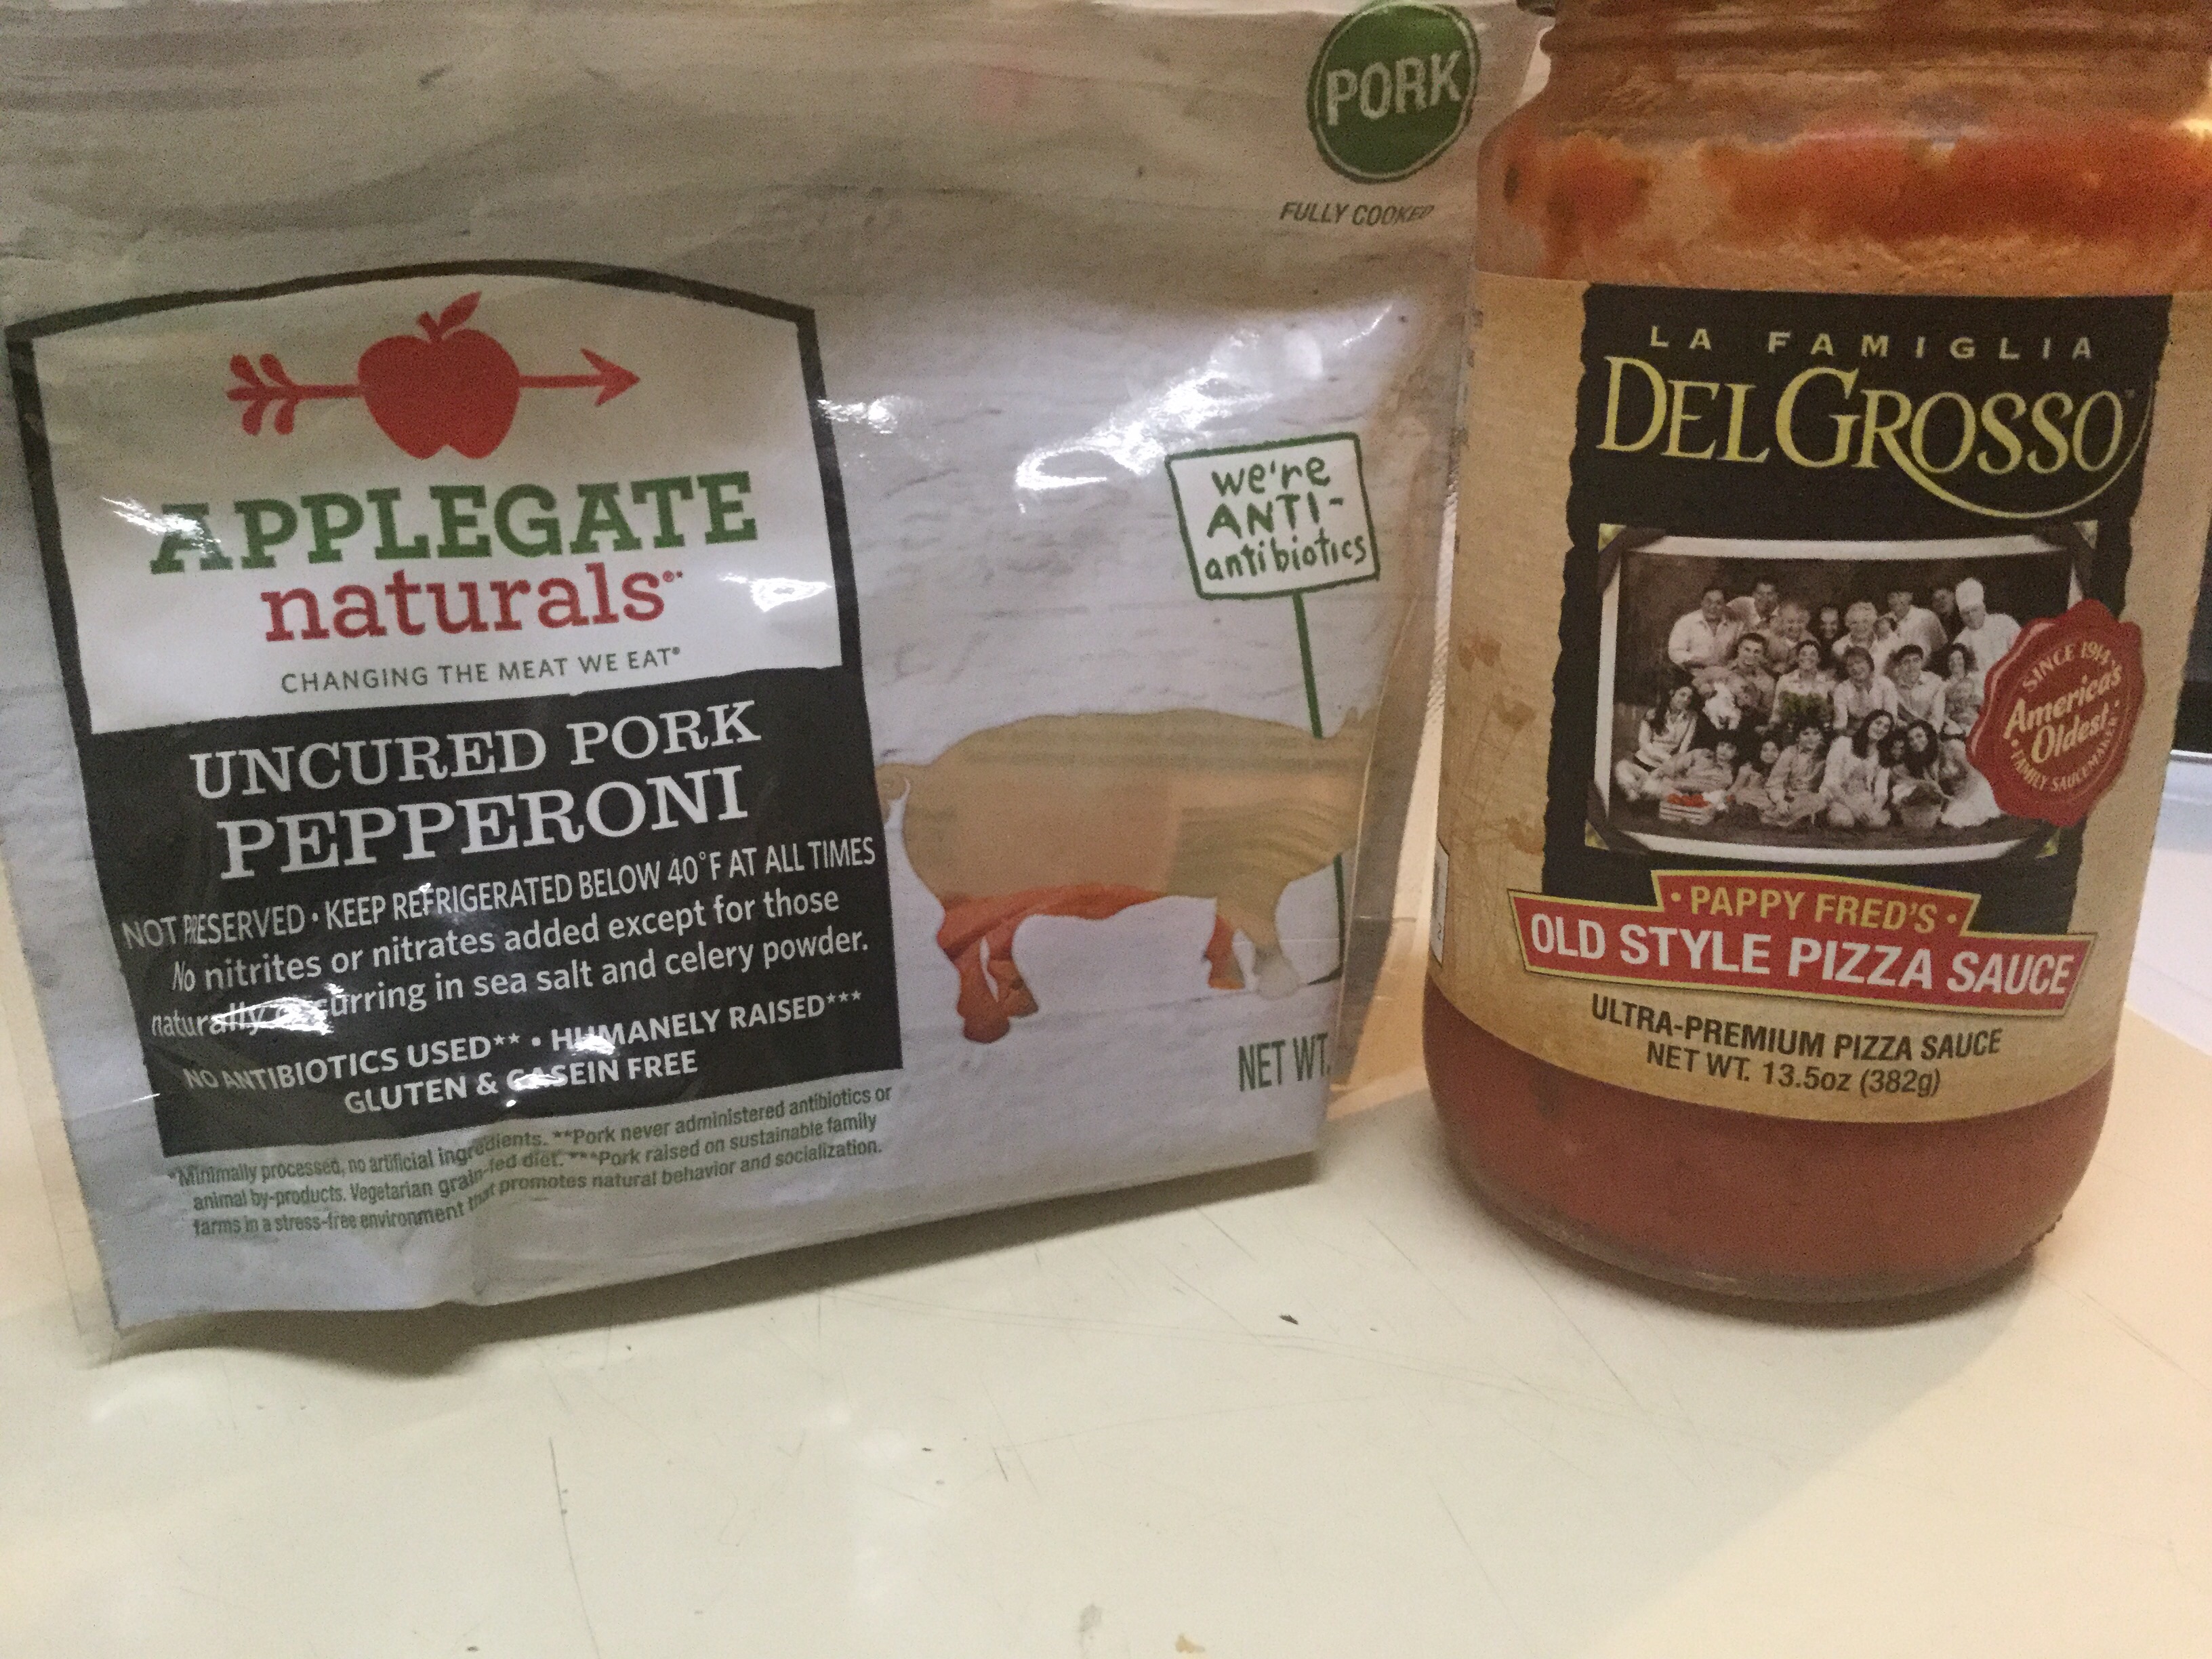
12. Packing lunches and making our own coffee was easy for us. We were already doing that and not to save money but to be healthy. I love black coffee! Love! I would spend $10 a day at Starbucks (if I only drank black coffee). That’s $70 a week and $3,640 bucks a year! On just coffee!! How bout food. You eat out for each meal. 3x $10 (the average meal these days). That’s $30 a day, $210 a week and $10,920 a year! That’s not including alcohol, going out, fancy foods. Just plain old fast foods. Coffee and fast a year (on average) would be $14,560. Its way cheaper to make food at home and brew your own coffe with no added stuff. And healthier! By far. I am 20 lbs lighter than my wedding day because of this 😃 a win win situation. 

13. Spending time with people who respect your process is ideal. It makes it easier.

14. Creative should be our last name by now. It is an important piece to our puzzle. 

15. We stopped my husband 401k since mine didn’t exist due to me not working anymore. 

16. Prayer. Ah yes. This is one thing I do a lot. Sometimes scream, cry and just talk to God about it all. Faith is what has kept us chugging along in our journey. 

Once again, Dave Ramsey has put together such a great list. If you are thinking about getting your finances together. The time is now! It’s never to late to start. We started when I was 31 and my husband was 33. It’s not usually fun in the beginning but once the train starts to go it gets better.  Believe me. We will also teach our boys how to Manage money, that I do know. I do not want them to be clueless about their future. I highly recommend you check out Dave Ramsey, listen to his podcast and start today. 
Live debt free

Live simple

Family, Food, Hair, pregnancy, prenatal, Stay at Home Mom, Uncategorized

Avocados

I absolutely love avocados. I prefer avocados on my sandwiches over putting mayo or other spreads. I add them in Smoothies, the obvious mexican foods, and I even put them on pizza. It is such a super fruit that we all should be trying to eat. Some people might not want to eat them because they are fat but it’s a good kind of fat.


I found this online and thought it was funny-Hahaha

Since we do not live in California anymore the cost of avocados are a little higher over here on the east coast. I went to Costco and it was $7.99 for a bag! Since I did not want to waste money I made an effort to finish the bag before they went bad. And, to my surprise I succeeded! If you ever are looking for a way to add more nutrients and trash the butter and mayo I’d try switching to avocados. Of course everything is moderation is the best because too much fat isn’t great either. But, this is a great way to switch out the bad. I absolutely LOVE avocado!!!


Live healthy

Live Simple

Christmas, Family, Food, pregnancy, St Pattys Day, Stay at Home Mom, Uncategorized, Women

Milk Chocolate Fudge

This is an amazing and easy fudge recipe that I just made yesterday. I made a different recipe last week and it was disgusting! That recipe called for baking chocolate and it was gross. This is going to be my go-to recipe when I want fudge. It is really creamy, smooth and melt in your mouth fudge. I always looked forward to the holidays when my mom would make fudge and now I can have a little taste of “home” on the East Coast. Here is the easy recipe, I hope you get to enjoy it as much as we do.


Ingredients:

2 1/2 Cups White Granulated Sugar

3/4 Cup Butter (softened, it makes it easier and faster to cook)

2/3 Cup Evaporated Milk

2 Cups Milk Chocolate Chips (I use Nestle Toll House=Yum!)

7 Ounce Jar Marshmallow Cream (I always use Kraft)

1 tsp Vanilla

Directions:

  1. Line a pan with parchment paper. Typically you would use a 9 inch square pan or in my moms case a cookie sheet for thinner fudge. I used my Cast Iron pan and it was perfect for me. It is a non-traditional shape for fudge.
  2. Use a heavy saucepan (I used my Pioneer Woman dutch oven, I’m trying to not cook with metal). Over high heat, combine; Sugar, butter and evaporated milk. Use a wooden spoon (the best for fudge) to stir slowly until butter melts. Make sure to scrape the sides of pan so you do not leave sugar crystals.
  3. Bring to a full rolling boil, stir constantly with your wooden spoon. Once it is at a full rolling boil turn the heat down to medium and cook it for 5 minutes. Make sure you stir constantly to prevent it from sticking to the bottom and to cook it evenly.
  4. Once mixture is done with the 5 minutes,  test to see if it is done. Fill a little glass cup with ice old water and drop a tsp of the very hot sugar mixture in it. If the sugar mixture can roll into a ball then it is done.
  5. Remove the mixture from the heat and add the chocolate chips. Stir until the chocolate chips are melted and mixture is smooth. Add the marshmallow cream an vanilla and mix really well until smooth. Pour into prepared pan right away.
  6. Let fudge cool down and try not to eat to much of it before then. Ha ha I really love warm fresh fudge so this is VERY hard for me!
  7. Once it is cooled take out of pan with the parchment paper, cute and serve. Make sure to really cover the fudge to prevent it from getting hard.


Live Happy

Live Simple