breastfeeding, Christmas, Family, Food, post partum, St Pattys Day, Stay at Home Mom, Uncategorized, Women

Red Velvet Baked Donuts with Cream Cheese Frosting

Ok, so I have to get this out of the way. My donuts are not red because the recipe calls for 1 Tbsp of red dye and we had 1/2 Tbsp…..so we used all the dye colors HA! They are green and might do this for St Patrick’s Day coming up.

I found this recipe about 1 minute after my son and I decided to make donuts. They are amazing!!! So good I wanted to eat way more than one at a time. I highly recommend recipe for baked donuts.


Ingredients:

3/4 Cup Granulated Sugar

1 1/2 tsp Unsweetened Cocoa Powder

1/2 tsp Salt

1/2 tsp Baking soda

1 1/4 cup Unbleached all purpose flour

1/2 cup Buttermilk (I used almond milk and vinegar to make mine)

1/2 cup and 2 tsp of vegetable oil

1 egg

1/2 tsp vanilla extract

1/2 tsp vinegar

1 Tbsp red food coloring


Cream Cheese Frosting Ingredients:

1 cup Powdered Sugar

1 oz Cream Cheese

1/2 tsp vanilla extract

1 tsp of almond milk or regular milk


Directions For The Donuts:

  1. Preheat oven to 350 degrees
  2. Spray donut pan with non-stick spray
  3. In a large bowl add flour, baking soda, salt cocoa powder and sugar. Mix and set aside.
  4. In a medium bowl, whisk together; egg, buttermilk, vegetable oil, vanilla, food coloring and vinegar.
  5. Pour the wet ingredients into the dry ingredients and whisk together. Do not over mix but mix enough so you do not have clumps in the batter.
  6. Fill the donut ring, I filled it to the top of the donut mold but not high enough to cover the middle.
  7. Bake for 12 minutes. Take out of the oven and let them cool on a cooling rack for a few minutes.

Directions for the Cream Cheese Frosting:

  1. Combine the Cream Cheese, powdered sugar and vanilla in a bowl. Mix (whisk) until all together.
  2. Add 1 tsp of almond milk or regular milk and mix until creamy. If you need to add more to get the perfect consistency, add a very small amount at a time.

I dipped the cooled off donuts in the frosting until coated on one half of the donut. You can add sprinkles if you like. 
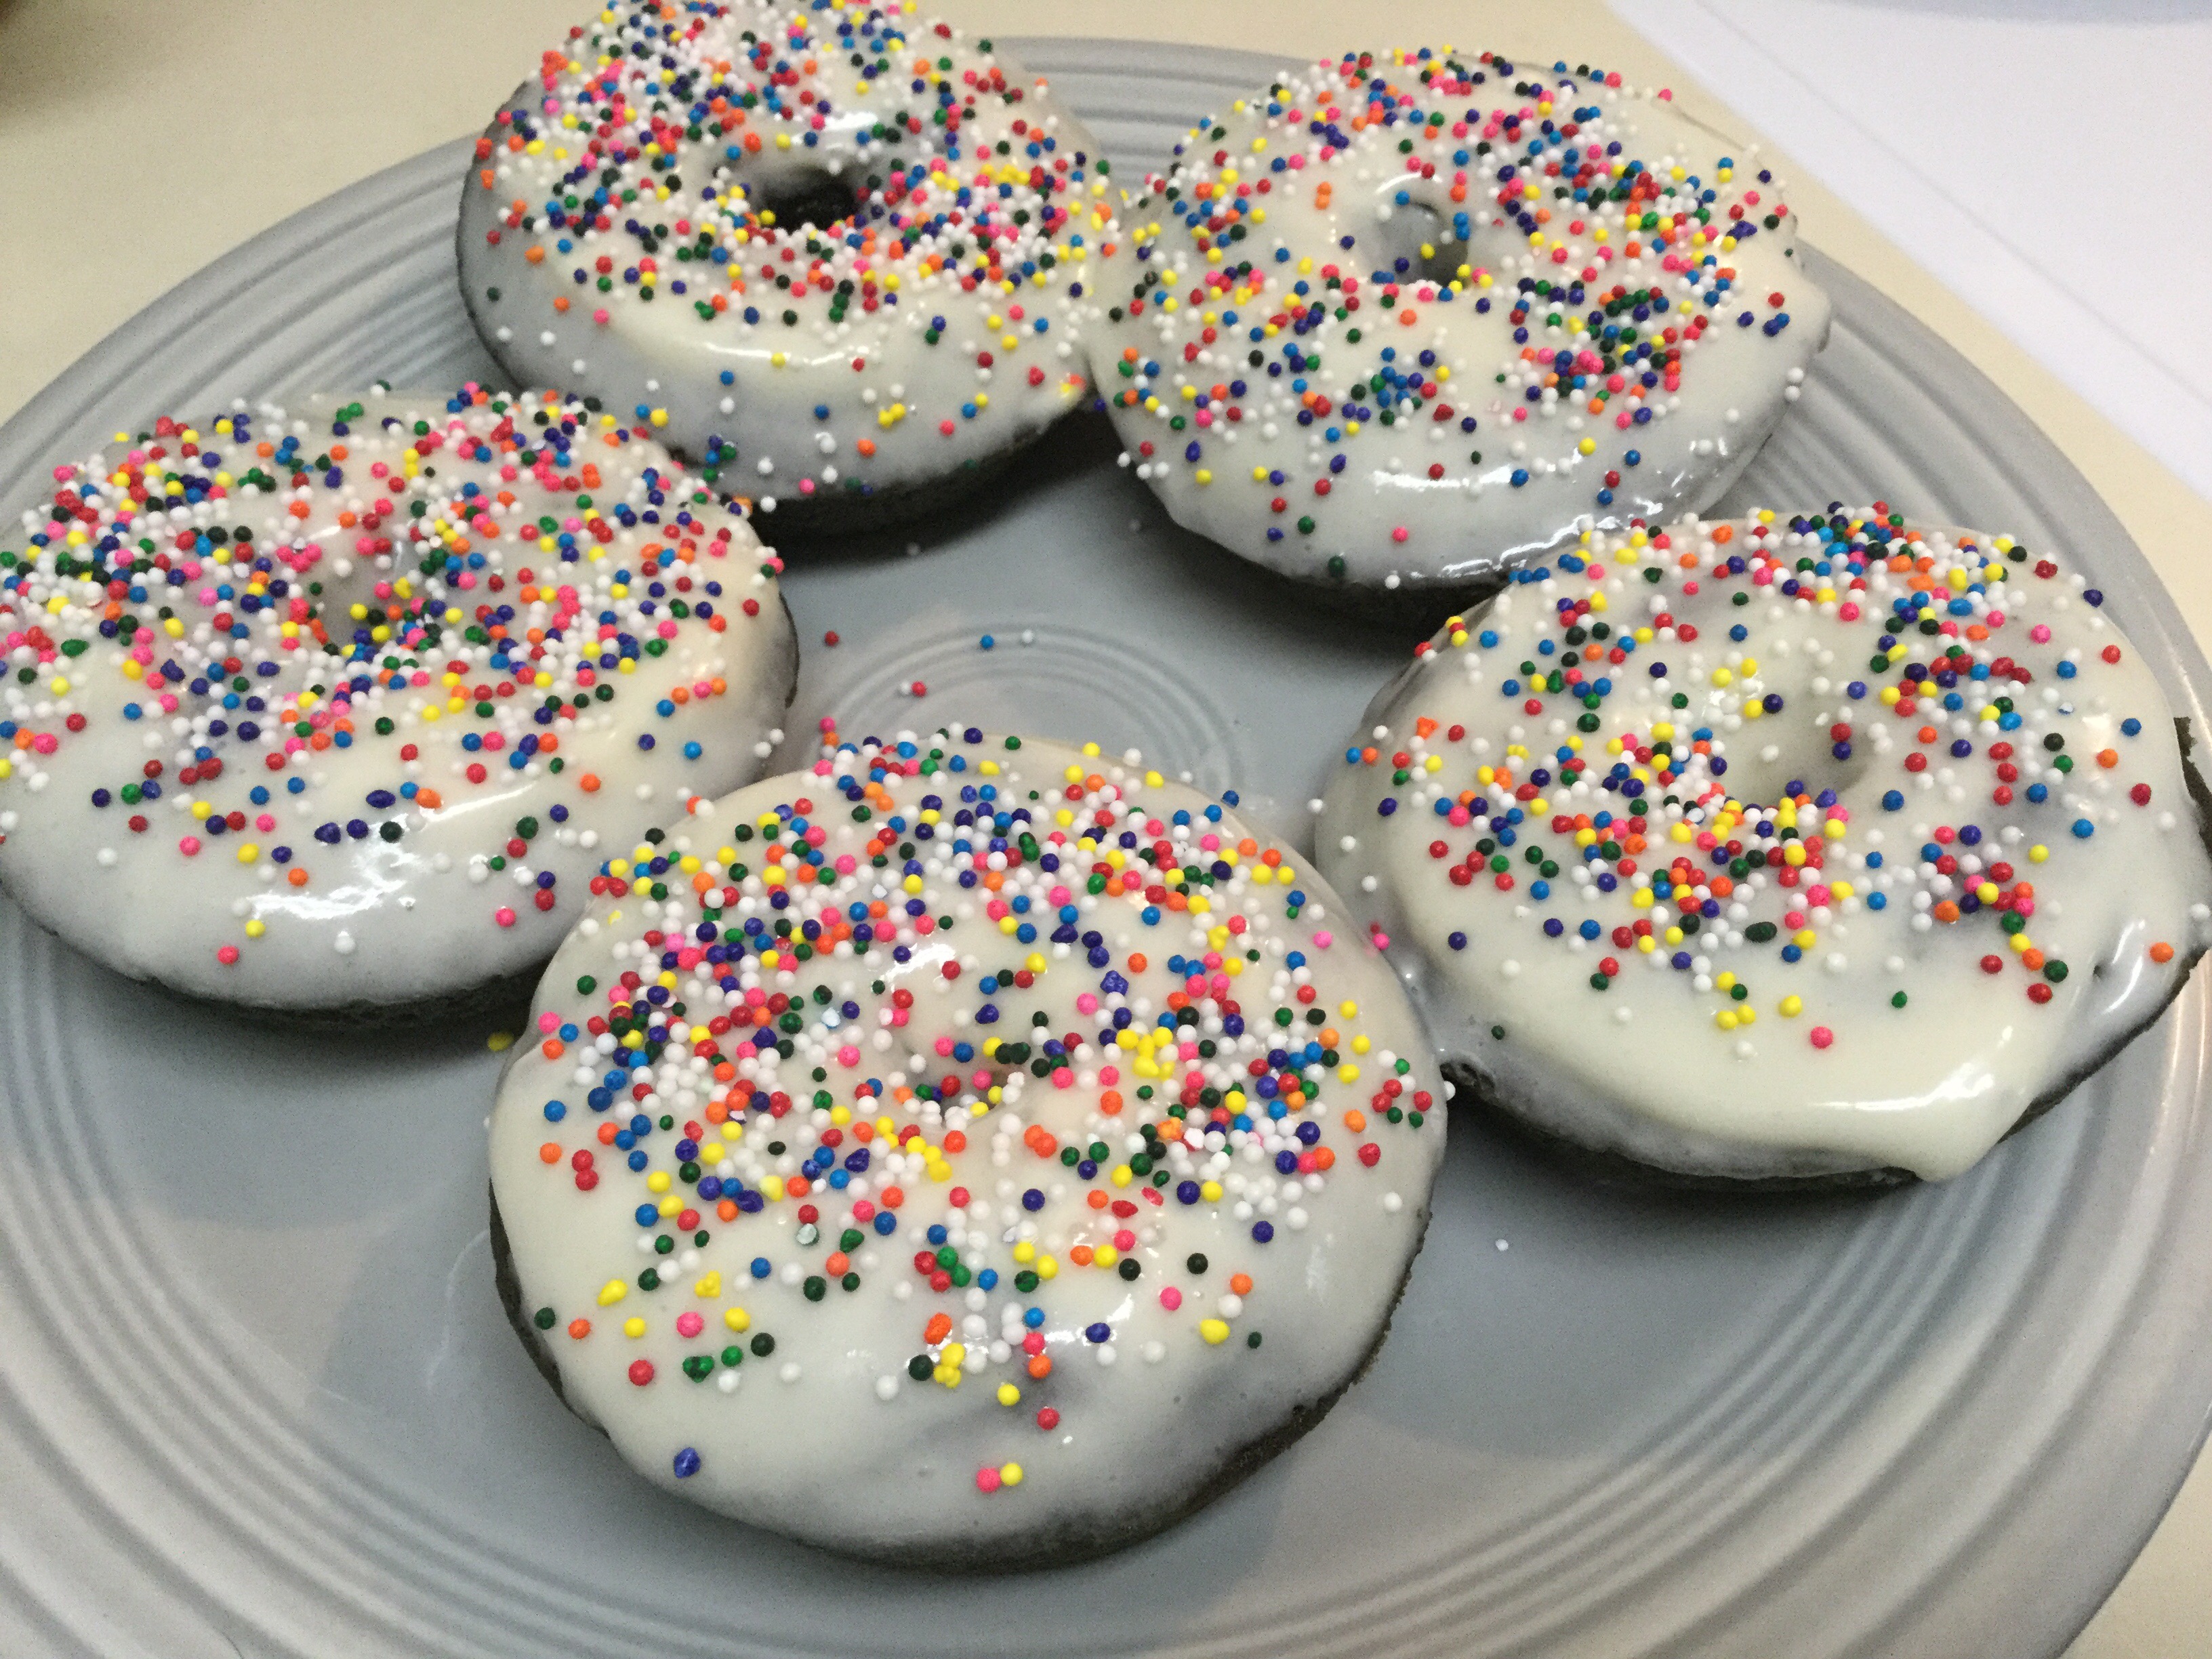
And oh my goodness….they taste amazing!! Enjoy!!


Live Sweet

Live Simple


Recipe From Homemadehooplah.com


Family, Food, post partum, Stay at Home Mom, Uncategorized, Women, workout

Super-set workout I love

I have found my new favorite super-sets. I actually made it up as I went because I want an awesome workout daily! I typically have about 30-45 minutes a day that I can workout and I want to get muscle definition. Because I do not have a lot of time I put my workouts together and boy does it burn! I absolutely Love Love Love it! The number one reason people tell me they cannot lose weight is because they do not have the time. I feel ya, but honestly, we all have time. We just have to make it. So I really want to encourage you to start somewhere and go workout. If you do not have a gym membership (another huge excuse I hear) then buy dumbbells from Target or Walmart and workout at home. I did not have a gym membership for 4 years and finally have one again. Before the gym membership I had 2-10lb dumbbells that I worked with. It is not a lot but it worked for me. I was able to lose my baby weight the first time with at home workouts, walking/jogging outside and eating better. If you really want it you have to believe in yourself and do it! At first it sucks but honestly it is the best thing you can do for yourself. Get healthy, get fit. Ok so on to one of my amazing workouts….I have a few but I will share the one I did today and post the rest later. Now remember these are super-sets not one set, rest, one set, rest. No resting involved. I rest my muscle when I workout a different muscle.

Back workout Superset

Bent over row with palms facing your body, return to starting position

Bent over row with palms facing each other, return to starting position

Bent over reverse fly, return to starting position

Repeat for a total of 12

Rest: Just kidding! Do 20 lunges each side

Rest: Nope

Do the Top super-set again

Do 20 more lunges each side

Do the super-sets again

Do 20 more lunges each side.

Done!

On to the next workout, abs and legs. Do these workouts all in one set, this time you rest for one minute in between.Remember super-sets, its a better burn and a faster way to get all your muscles worked.

Grab a Mat:

30 crunches

30 side crunches-each side

50 bicycle crunches

20 push ups

20 side plank dips/lifts

50 outside leg lifts

50 inside leg lifts

20 side plank dips/lifts on opposite side

50 outside leg lifts on opposite side

50 inside leg lifts on opposite side

Rest one minute and repeat for a total of 3 sets

Remember to stretch, I am not very good at the whole stretching thing. I typically skip it if I do not have time, but most people need it.

I really hope you try this workout and if you have any questions just ask!

I have been doing this workout for two weeks now. Between this workout and the other ones I will post I have been seeing results faster! I am 8 months postpartum and have recovered faster this time around and am now at the toning and improving my body part. I just started working out with heavier weights and see a big difference. I am not skinny and not super toned just yet 😜 I absolutely love working out and love to eat. So finding a balance has worked for me. I posted two picture of me from this morning. 

1. My tank top is to big on me now, huge. 

2. I am not toned as you can tell but my muscles are getting bigger, thankfully! 

3. Don’t buy targets workout clothes with drawstrings. It literally bunches up around your waste and make me feel like I have a bigger stomach 😟

4. Trying to take a “flexing” picture after your workout leads to a blurry picture hahaha 
Live fit

Live healthy

Live simple


Family, Food, Stay at Home Mom, Uncategorized, Women

“Perfect” Sweet Tea Recipe

This is a recipe I have been making for my family for a while now. This is our favorite “perfect” sweet tea recipe.

Ingredients:

8 cups Water

3 Family Size Lipton Iced Tea bags

2 Cups Sugar

4 Cups of Ice

3L Pitcher


Directions:

In a small saucepan boil 2 cups of water. Once boiling add the tea bags and bring to a boil. Bring to a boil again, let it boil for 2 minutes. Once the 2 minutes are up take the tea bags out and add the two cups of sugar. Bring to a boil and boil for 2 more minutes. Once the 2 minutes are up turn off the heat and set pan aside to cool off a bit. Fill the Pitcher up halfway with ice (about 4 cups) and add the rest of the water, 6 cups. Pour the tea/sugar mixture in the ice water pitcher and stir.

Done! Easy Peasy!


I hope you enjoy the Sweet tea as much as we do!


Live Sweet

Live Simple


Family, Food, pregnancy, prenatal, Stay at Home Mom, Uncategorized, Women

Homemade Tortilla’s

Making tortillas at home is super easy. I also really love the fact that you know every ingredient that is in them. Takes about 30 minutes from beginning to end so you can make them last minute.


Ingredients:

4 Cups All-Purpose Flour

1 tsp Salt

2 tsp Baking Powder

2 Tbsp softened butter (I used salted)

1 1/2 Cup Water

Directions:

Put flour, salt and baking powder in a bowl and whisk together. Put the softened butter in and whisk together well. Add the water in slowly and mix together. Place onto a lightly floured counter. Knead the dough for a minute or two and then divide into 20 pieces. Roll each piece into a ball.

Preheat a large cast iron pan (Or skillet pan) over medium heat. Roll a ball into a thin round tortilla. Place onto the preheated pan and cook until it bubbles, about 1-2 minutes. Flip to the other side and cook for another minute. Place warm tortilla onto a plate covered with parchment paper. I place a dry and clean kitchen towel over the cooked tortillas.

And, enjoy!


Live Homemade

Live Simple


Family, Food, Stay at Home Mom, Uncategorized, Women

Delicious Apple Bread

Oh my goodness this bread is amazing!!! It is not really “healthy” but eating strict is not my forte. Plus, restricting myself from everything is not really healthy to do. Moderation and self control helps me the most. And kicking butt at the gym 🙂

I made it up at the last minute. I really had no intention to try anything other than make sandwich bread. I just thought, hmm I wonder if this would taste good. And bam! This is a type of bread I am going to make every time I make bread. I double this bread recipe and made this apple bread as a “side” bread. Seriously, its that yummy!

Ingredients:

1/4 Cup Almond Milk (or regular milk)

5 tsp Granulated sugar

1 tsp Salt

5 tsp Butter (I used salted butter)

2 1/2 tsp Yeast (I only use fleischmann’s)

1 Cup Warm Water

3 1/2 Cup Flour

Ingredients for the apple bread:

1 Apple (I used Pink Lady apples) pealed, cut into small pieces

Cinnamon

Granulated sugar

softened butter

The bread recipe has to rise for an hour first. Also, cook the apple pieces in a small pan until just cooked (soft). I put enough water in the pan to cover the apple pieces. 

Here is the Recipe for the bread. After I rolled up the bread, I put the bread pan next to the roll and cut the ends off with a sharp knife. Put the perfect fit bread roll into the pan. The two left over ends of the roll I unrolled and flattened into a rectangle shape with a rolling pin. I spread a thin layer of butter on top. Then I sprinkled granulated sugar and cinnamon on top. I had no idea how much to add because this is my first time making it. So I just put as much as I thought would be good. When done with the cinnamon and sugar put 4 small chunks of butter on top. When ready start from longest side and tightly roll up. Pinch the ends together and put into the pan with the seam down. This is what it looks like: Set aside and let it rise with the rest of the bread. Put in the oven and bake for 30 minutes with the sandwich bread. Take out and test the bottom of the pan to see if it is done. I have never had bread that needs to be in longer than the 30 minutes. Once you take it out of the oven take it out of the pan and cool off on the cooling rack.  This bread taste SO good and I hope you try it out.


Have A Wonderful and Amazing Sunday!

Live Simple!

Family, Stay at Home Mom, Uncategorized, Women, workout

Today’s a good day, for a good day!! Workout included

I cannot believe that our family actually got 9 hours of sleep last night. With two kids (age 3 and 8 months) it’s pretty rare. Thank the Lord for the sleep! The night before I got 5 hours so it’s a blessing for sure. 
Today I had an amazing workout and wanted to share. I love to change things up and I hope you try this workout! 

First I need to get this out of the way. I “rest” but not in the traditional way. My “rest” is typically by working out another part of my body. It makes me burn more and it feels amazing afterwards. 

Here’s my workout for today:

Put your bench at a 45 degree angle and do the following, I only use 10 lb weights because it burns doing 3 in one’s

1 incline dumbbell curl

1 incline dumbbell fly

1 incline dumbbell press

Repeat 11 more times

*at your “rest” time do 12 lunges on each side

Repeat above for a total of 3 sets of 12

Next workout, smith machine:

12 squats

*at your rest time* do 12 push ups

Repeat above for a total of 3 sets of 12

Next workout on a mat:

12 crunches

12 side crunches each side

20 bicycle crunches

12 push ups

12 side plank dips

25 outside leg lifts

25 inside leg lifts

12 plank dips-opposite side from before

25 outside leg lifts-opposite side from before

25 inside leg lifts-opposite side from before

*I actually rest for one minute

Repeat above for a total of 3 sets
And stretch

Voila! Done! Such a great workout! 
Have a wonderful Day! 

Live fit

Live simple 

breastfeeding, debt, Family, Food, pregnancy, prenatal, Stay at Home Mom, Uncategorized

Goals Met….and Homemade Pizza Recipe

I firmly believe if you set your mind to something you can achieve that goal.

This morning when I put on my pants I was able to tighten my belt one notch!! That is amazing!

My first goal was to lose the weight I gained, check. I was at my pre baby weight way faster than last time. Thankfully! I am also at my first weight goal-125 lbs. That has honestly been my goal almost my entire life. For some reason being this exact weight I feel great! I know that if I were famous I would be considered obese, but I’m not.

The second was to get stronger than I have ever been, check.

I have no idea why it is easier this time around. Maybe I have a bit more motivation since I know I will not be getting pregnant again.

My next goal is to tone up more and lose 5-10 more lbs. I just want to be a bit slimmer and toned more. If they are right about holding onto 10 lbs of fat when you are breastfeeding, then Ill just have to wait for a year and a half if he breastfeeds that long, Lord willing.

I want to encourage to women who have negative people around them. Especially about baby weight. It is possible to lose the baby weight, it is possible to workout when you have children, it is all possible. I am super thankful to have a supportive husband also. Without him, this all would be a lot tougher.

Get up and go.

I used to have all the excuses in the world not to get up and workout but I feel SO amazing after. I just keep going and training my body in different ways so I don’t get caught up in the mundane. I also limit my cardio and lift more weights. I used to be more about cardio but I really want to just tone. I am pushing my body more and more and constantly.

Also, kids love to be active and if you are active with them then you can get a lot of exercise. Don’t forget to eat healthier. I am not the healthiest eater but I do not over eat, that’s for sure. Except when it comes to pizza nights. Every Friday I make homemade pizza…..YUMMY! Speaking of pizza on Friday nights, I am off to start making it! Have a wonderful weekend!


Live healthy

Live Simple

breastfeeding, Family, Stay at Home Mom, Uncategorized, Women, workout

Awesome Workout: Feel the burn

I just did made up this workout this morning and wow does it burn. I loved it SO much I had to share. This week I have been killings it at the gym and it’s starting to feel awesome! Thankfully. I’ve started doing none weighted lunges daily and at least 36 push-ups daily. 3 sets of 12. Thankfully those are getting easier to do also. I have to add that on top of this workout I did 20 minutes of cardio and weighted back workouts. Awesome workout overall today!

So here’s the Workout Burnout:
12 crunches

12 side crunches-each side

12 bicycle crunches

12 push ups

12 side plank dips

20 outside leg lifts

20 inside legs lifts

12 side planks dips-other side

20 outside leg lifts-other side

20 inside leg lifts-other side

Rest 1 minute

Repeat

Rest 1 minute

Repeat
Hope you try it and let me know how you feel.

This is my progress at 7 months post partum 

Live fit

Love simple

debt, Family, Food, money, pregnancy, Stay at Home Mom, Uncategorized, Women

Simple Homemade Bread Recipe

This bread recipe I have been making for a really long time. I just started to make it again because it is way cheaper, you know all the ingredients and it is super yummy! Homemade bread just tastes SO much better than store bought. In my opinion. It is super easy and there are not a ton of ingredients.

Here are a few tips to start out with: I make it with almond milk. Almond milk? Last night when I made it, I swear it actually tastes better than when I used regular milk. Try it out! I used Silk almond milk Regular. Im sure you can use any kind but that is what I used. If you want to use cow milk that is perfectly fine also, just giving you an option. I also used salted butter last night, I really do not like salt but when I went to Costco and bought butter…..I accidentally bought salted :(((  So if all you have is salted, It’ll still taste yummy! Also, this time around I used unbleached white flour, that was all I had in the house. I have used whole wheat also and it tastes great! If you want to try to have whole wheat flour I suggest starting with 50/50 blend. 50% white, 50% whole wheat. Whole wheat flour bakes a little differently so the bread texture is a little different. I have found that you may need more of less whole wheat flour versus white flour alone.

What you need: 2 bread pans or just cut the recipe in half to make 1 loaf. Easy. Cooking spray or just use butter in the loaf pan(s) so the bread does not stick. And of course the ingredients 🙂

Ingredients:

1/2 Cup Silk Almond milk

3 Tbsp Sugar

2 tsp salt

3 Tbsp melted butter

5 tsp yeast (I only use fleischmann’s yeast=amazing)

1 cup warm water

7 cups flour

Warm up your mixing bowl by filling the bottom up with warm/hot water. Let it sit for a minute and pour out.

  1. In warm mixing bowl add 1 cup warm water, yeast and 1 tsp of the 3 Tbsp. Set the rest of the sugar aside for later. Let yeast rise for about 5 minutes.
  2. Add melted butter, almond milk, sugar and salt to the yeast mixture. Mix until just mixed together.
  3. Add 4 cups of flour and mix with bread hook.
  4. Add 1 cup of flour at a time until your dough is sticky but not stuck to your finger when you touch it.
  5. Once you are done adding the flour mix the dough on low for 10 minutes.
  6. Take dough out and place onto a lightly floured surface.
  7. Grease the mixing bowl, I used butter to lightly grease the bowl. You can also you cooking spray if you like.
  8. Put the dough back into the greased bowl and place a clean and dry kitchen towel over the top. Let it rise for 1 hour. While you are waiting I suggest greasing the bread pans. Again, I use butter to grease the pans but you can use cooking spray. Clean up and relax and drink some coffee while your at it 🙂
  9. Once the hour is up; punch the dough down 2-3 times. Put the dough onto a lightly floured surface. Cut the dough in half and set one-half aside. Roll one-half of the dough into a rectangle. Make sure the length is not longer than the bread pan. Tightly roll the dough (width wise) and pinch together so there is no seem. Place the bread into the greased bread pan.
  10. Repeat with the other half of the dough.
  11. Cover the bread pans with a clean and dry kitchen towel and let it rise for one hour.
  12. Preheat oven to 400 degrees. I normally turn the oven on when I have 15 minutes left to wait.
  13. Place the bread carefully onto the middle rack in the oven and close the oven door super slowly so the bread does not collapse.
  14. Bake for 30 minutes
  15. What I’m going to tell you will sound painful but I honestly have never burnt may finger and I’ve done this A LOT. Put spit onto your finger and tap the middle of the pan to see if it sizzles. If it does then your bread is done. I was taught to test bread and rolls that way since I can even remember.
  16. Take bread out of pans right away. Let it cool on a cooling rack before slicing (good luck with that, HA) I love fresh out of the oven bread. Yum Yum


Enjoy!! I hope you love the bread as much as we do. We are already more than halfway done with the first loaf and I just made it last night.

Live Simple

debt, Family, Food, money, Stay at Home Mom, Uncategorized

Happy National Peanut Butter day

I love peanut butter. Well, love may be an understatement. HA! Every single day I have an apple and peanut butter. Everyday! It is normally my lunch because it is easy, healthy and oh so delicious. I have to tell ya, I never had peanut butter and apple until I met my husband. He looked at me strangely when I told him that I have never had it together. I thought it sounded gross. Well, now I have it every single day HA-HA If you have never had it I highly recommend it. I have never gained a pound eating it regularly. If anything I have to thank the combo for being able to lose weight and keep it off. Thank you Jesus! It is also budget friendly. We buy our Organic apples every week at Costco. I have compared the price to grocery stores and it does cost maybe a dollar more over all. but I have to tell ya, the apples are amazing every time. At the grocery store they tend to not be as good around here. Not sure what that is all about.

I hope you get to eat some peanut butter today! Happy National Peanut Butter Day!


Live healthy

Live simple