breastfeeding, Family, post partum, Stay at Home Mom, Uncategorized, Women, workout

Clothes shopping excitement 

I wanted to do a happy dance at Target yesterday, but I don’t like walking on store floors without shoes on LOL I have literally achieved a lifelong goal of losing weight and being in a size I’m comfortable at.  I am officially in a size 4 in jeans and a s-xs size shirt. Blows my mind!


 Even though I think some brands run bigger, I have never been this size before. When I got pregnant I was told by many women that I’d never lose weight again. I felt defeated. So I made it my ultimate goal to show everyone I could. Two kids and almost 5 years of marriage….goals met! Cheers to hard work and being a fitmom.

If you are pregnant and have been told this, don’t listen to those women. Maybe they are a bit bitter that they never lost the weight. I’m not entirely sure but don’t listen to them. When I got married I was a size 10 in jeans and a med-large shirt size. And I am now a size 4 and sm-xs. It can be done. In my lifetime, when I was single I even went up to a size 16. Yuck! I was incredibly unhealthy and I will never be that size again. I know people say it’s not the number that matters, but I know what I felt like to be that heavy and it was not fun. It uncomfortable. 

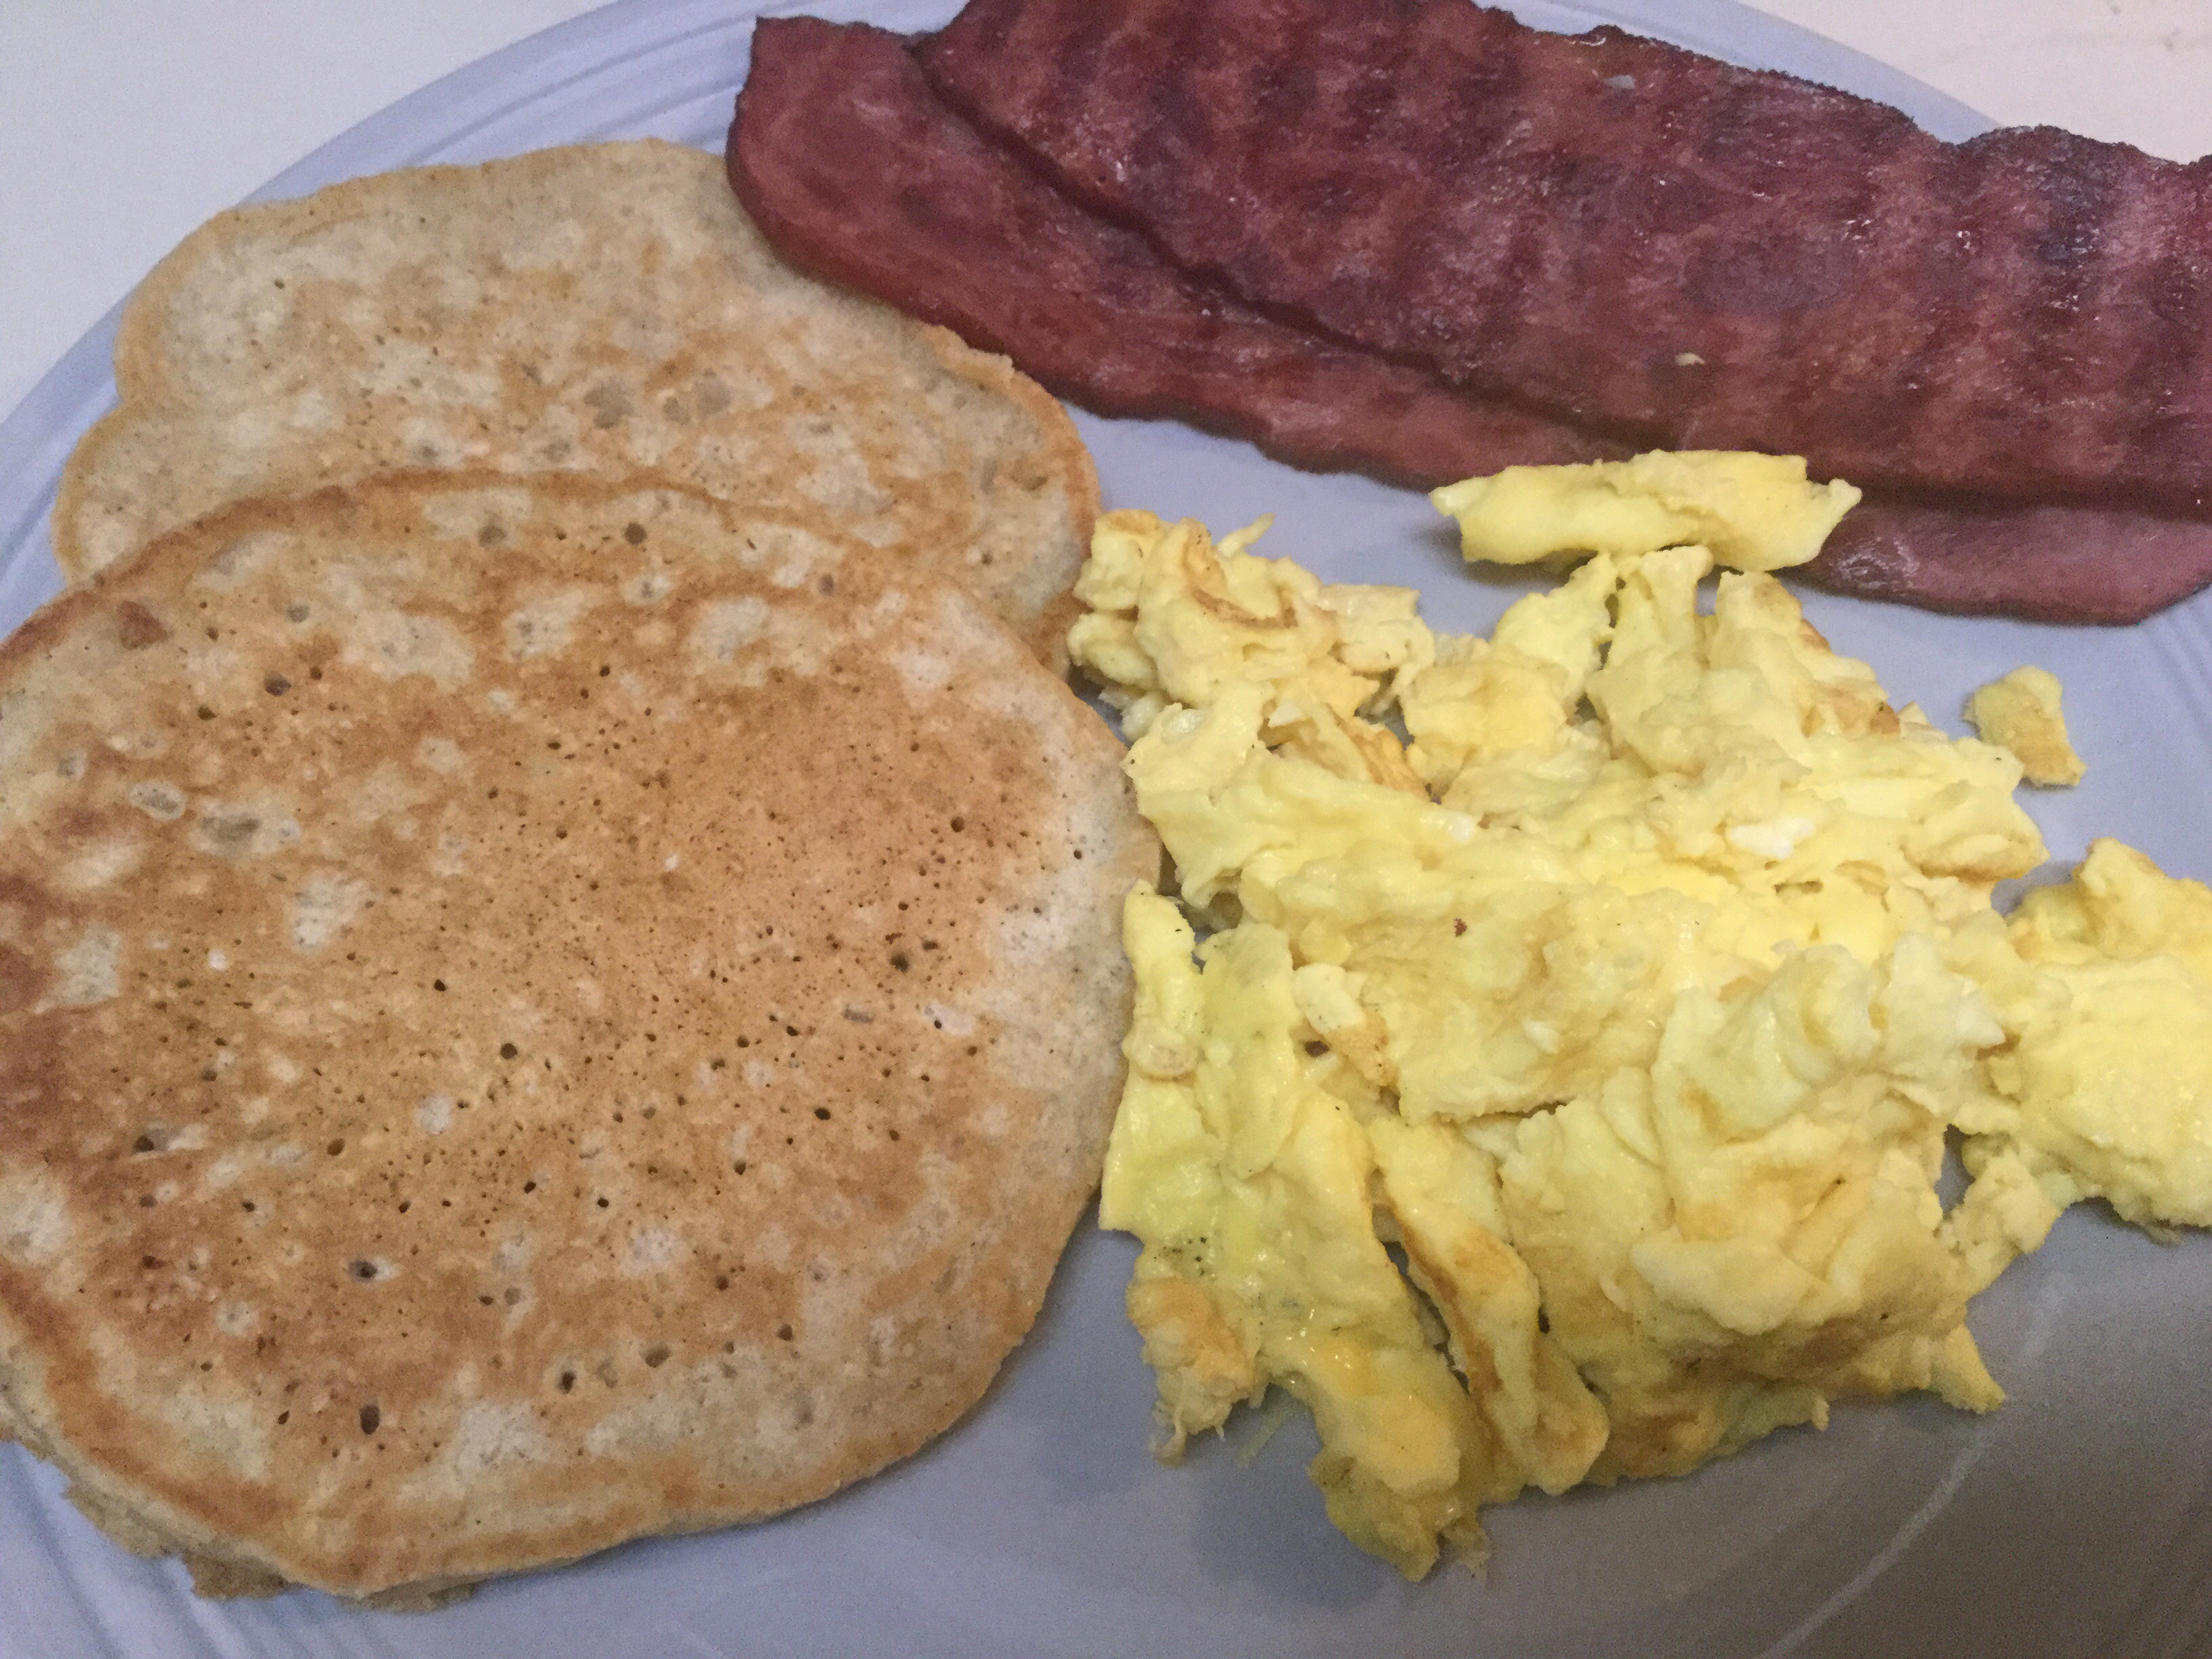
I literally am not on any special weight loss program, don’t belong to a gym, just doing what I can and working out at their nap time. I fit in workouts when I can and snack all day. If you stick your mind to it you can achieve your goals. Even if you “don’t have time” there is literally time in everyone day to do something. Just think about everything you do in a day, I bet there time. Just make time 😉 At first it seems “hard” but it gets easier, I promise. Wake up 1 hour earlier…..everything is achievable when you stick your mind to it. 

Time to go fit in my workout for the day 🤸🏼‍♀️

Live healthy

Live fit

Live Simple 

Stay at Home Mom

No bake Oatmeal Raisin Protein Bites

My husband and I absolutely loves Oatmeal Raisin Cookies. I was about to make my normal Healthy No-bake Energy Bites and Simple To Make and thought….hmm maybe I can try to make a different version that everyone would love. Ya’ll!! They are SO good! They taste like oatmeal raisin cookie dough. De-licious!! I really hope you get to try them and let me know how you like them.

So I started out with the typical Oatmeal, peanut butter, flaxseed, honey, vanilla but this time I added; raisins and cinnamon. This time around I did not add a lot of cinnamon because I’ve done that before in recipes and it was not good. So to keep it on the “safe side” I added just enough. You can also tweak the recipe if you like more raisins and cinnamon. Oh and next time I’ll add my typical walnuts, I am out of those currently. 

Ingredients: 

1 cup Oatmeal

1/2 cup Natural Peanut Butter (smooth this time) 

1/2 cup Flaxseed

1/2 cup chopped walnuts

1/3 cup Organic Honey

2 tsp Vanilla

1/2 cup Organic Raisins

1 1/2 tsp Cinnamon 

Directions:

Put all ingredients in a food processor (I use a Ninja) and mix together. You’ll probably have to stop the mixer to scrap the sides to get it completely mixed together.

Once all mixed together, put it in the refrigerator for 30-60 minutes and then form them into little bites. 

I store them in a glass container and leave them in the fridge until I eat them. 
Enjoy!!

Live Healthy

Live Simple 

Family, Food, post partum, Stay at Home Mom, Uncategorized

Simple and Delicious Inside out Chicken Enchilada

I absolutely love chicken enchiladas. I have been making them for at least half of my life and was probably one of the first things I started cooking. Since I love enchiladas I wanted to make it a bit different. This is a great twist to the usual rolled up chicken enchiladas. And its super simple. You can either use a slower cooker, which I do not have, or you can put it in the oven like I did. I have to say, I am afraid of raw and/or under-cooked chicken so that is why i cooked it longer. I added pictures below of everything.  I hope you get to make this recipe, its truly delicious.


Ingredients:

3 lbs (4 chicken fresh chicken breasts)

2 19oz cans of green Chile enchilada sauce

12 Corn tortillas

2 cups Shredded cheese ( I used Sharp cheddar cheese)

More shredded cheese to add after cooking, if you like

Corn ( I cut the corn off of 4 of our left over corn on the cob)

1 can Black Beans

1 can olives

Sour Cream


Directions:

Preheat oven to 350 degrees.

I used a dutch oven (Pioneer Woman Brand) and put 2 cans of green Chile sauce in with the chicken breasts. Pop it in the preheated oven for 1 1/2 hours. You can always check after the hour to see if the chicken is done. I cooked it longer to make sure it was not under cooked.

While the chicken is in the oven I prepped the food. Cut the corn off the cob or drain the corn in the can, drain the black beans, cut up olives and cut corn tortillas into whatever shape you like. I stacked them on top of each other and cut them. That’ll save you a bit of time.

Take the cooked chicken out of the oven. Take one chicken breast out at a time and shred the chicken with two forks. Put the shredded chicken back into the green Chile sauce and add all of the other ingredients. Stir ingredients until just mixed. Put it back into the oven and cook for 30 more minutes.

Take out and put in a bowl. Add more cheese if you like and top with sour cream.


Live Simple


breastfeeding, Family, Food, post partum, Stay at Home Mom, Uncategorized, Women, workout

Yummy and Healthier Pancakes

Our family absolutely loved this recipe. It’s easy, fast and we had all the ingredients already. Nothing out of the ordinary is needed for these pancakes. I even was able to try out the new avocado oil from Costco. I love the healthier oil options we have these days. (Picture below) I hope you get to make these and enjoy them as much as we all did. And not to mention….toddler approved 🙂


Ingredients: 

1 cup Unbleached all-purpose flour or whole wheat  flour (I used 1/2 cup unbleached flour and 1/2 cup whole wheat flour and only King Arthur brand flour)

1 Tbsp Raw sugar

2 tsp Baking Powder

1/2 tsp Salt

1 cup Silk Almond Milk

2 Tbsp Avocado oil or Melted butter (I used butter the first time around)

1 Egg

1/4 tsp All Spice

Splash of Real Vanilla
Directions:

1. Whisk together flour, sugar, baking powder, all spice and salt in a small bowl.

2. In a separate bowl, whisk together Silk, oil/butter, vanilla and egg.

3. Add flour mixture to egg mixture and stir with a wooden spoon just to moisten—a few lumps are fine.

4. Cook pancakes on a cast iron pan with avocado oil over medium heat. I put just enough oil to cook the pancake, maybe 1/4 tsp.

5. Cook until you see little bubbles and flip, continue cooking until done. Maybe 1 minute longer once flipped.
I served these delicious pancakes with uncured turkey bacon from Costco (I highly recommend this turkey bacon brand-picture below) and scrambled eggs with almond milk whisked into the eggs.


Have a wonderful Mother’s Day weekend!!

Live healthy

Live simple

Family, Food, post partum, pregnancy, prenatal, Stay at Home Mom, Uncategorized, Women, workout

Simple Two Ingredient Ice Cream

Our family absolutely loves ice cream. If I could eat it all the time and not get fat, I would. But since ice cream is fattening I wanted to try making banana ice cream that I see online a lot. I was skeptical at first but once I tasted it, oh man is it good! I tried strawberry ice cream first and will be testing out different flavors very soon. It is very inexpensive and so darn yummy, you should try it out. It is also toddler and nine month old approved. They absolutely love it! 

Ingredients:

Bananas 

Strawberries

Directions:

Wash, cut the tops off the strawberries and put them in a freezer bag and freeze

Peel the bananas, cut into pieces, put them in a freezer bag and freeze. 

Once frozen, take the bananas and strawberries out. 

Put the bananas in the food processor and blend for about 3 minutes or until it has a smooth/ice cream like texture. 

Out in the frozen strawberries and blend for a minute. It really depends on if you like chunks of strawberries or just smooth. So really gauge the blending on your liking. 

Done

Scoop and serve. It’s hard not to eat a lot at once 😜
Live healthy

Live simple

Family, St Pattys Day, Stay at Home Mom, Uncategorized, Women

Easy Playdoh Recipe

This is the easiest fast and most simple playdoh recipe. Every time we make it I have our toddler pick which color he wants. Today he wanted lime green, that’s my boy!! Its a very cool color and not so boring. To me. Try it out!


Ingredients:

2 Cups All Purpose flour

2 Tbsp vegetable oil

1/2 Cup Salt

2 Tbsp Cream Of Tarter

2  Cups Water

Food coloring (lime green: 18 yellow to 3 green)


Directions:

  1. Mix Flour, salt and cream of tarter in large bowl and set aside.
  2. Boil 1 1/2 Cup water and vegetable oil together. Put in food coloring of your choice and mix with whisk.
  3. Slowly pour liquid mixture into flour mixture and mix with wooden spoon. Be careful not to mix to fast. Also, make sure to mix thoroughly.
  4. Once cooled, put onto counter and knead well.

Done!

Easy, simple and fast. Enjoy and have some fun with your kiddos! Life’s to short to always be busy. Slow down and enjoy this ride. Kids need us to be present not to get present.


Live Simple

breastfeeding, Christmas, Family, Food, post partum, St Pattys Day, Stay at Home Mom, Uncategorized, Women

Red Velvet Baked Donuts with Cream Cheese Frosting

Ok, so I have to get this out of the way. My donuts are not red because the recipe calls for 1 Tbsp of red dye and we had 1/2 Tbsp…..so we used all the dye colors HA! They are green and might do this for St Patrick’s Day coming up.

I found this recipe about 1 minute after my son and I decided to make donuts. They are amazing!!! So good I wanted to eat way more than one at a time. I highly recommend recipe for baked donuts.


Ingredients:

3/4 Cup Granulated Sugar

1 1/2 tsp Unsweetened Cocoa Powder

1/2 tsp Salt

1/2 tsp Baking soda

1 1/4 cup Unbleached all purpose flour

1/2 cup Buttermilk (I used almond milk and vinegar to make mine)

1/2 cup and 2 tsp of vegetable oil

1 egg

1/2 tsp vanilla extract

1/2 tsp vinegar

1 Tbsp red food coloring


Cream Cheese Frosting Ingredients:

1 cup Powdered Sugar

1 oz Cream Cheese

1/2 tsp vanilla extract

1 tsp of almond milk or regular milk


Directions For The Donuts:

  1. Preheat oven to 350 degrees
  2. Spray donut pan with non-stick spray
  3. In a large bowl add flour, baking soda, salt cocoa powder and sugar. Mix and set aside.
  4. In a medium bowl, whisk together; egg, buttermilk, vegetable oil, vanilla, food coloring and vinegar.
  5. Pour the wet ingredients into the dry ingredients and whisk together. Do not over mix but mix enough so you do not have clumps in the batter.
  6. Fill the donut ring, I filled it to the top of the donut mold but not high enough to cover the middle.
  7. Bake for 12 minutes. Take out of the oven and let them cool on a cooling rack for a few minutes.

Directions for the Cream Cheese Frosting:

  1. Combine the Cream Cheese, powdered sugar and vanilla in a bowl. Mix (whisk) until all together.
  2. Add 1 tsp of almond milk or regular milk and mix until creamy. If you need to add more to get the perfect consistency, add a very small amount at a time.

I dipped the cooled off donuts in the frosting until coated on one half of the donut. You can add sprinkles if you like. And oh my goodness….they taste amazing!! Enjoy!!


Live Sweet

Live Simple


Recipe From Homemadehooplah.com


Family, Food, pregnancy, prenatal, Stay at Home Mom, Uncategorized, Women

Homemade Tortilla’s

Making tortillas at home is super easy. I also really love the fact that you know every ingredient that is in them. Takes about 30 minutes from beginning to end so you can make them last minute.


Ingredients:

4 Cups All-Purpose Flour

1 tsp Salt

2 tsp Baking Powder

2 Tbsp softened butter (I used salted)

1 1/2 Cup Water

Directions:

Put flour, salt and baking powder in a bowl and whisk together. Put the softened butter in and whisk together well. Add the water in slowly and mix together. Place onto a lightly floured counter. Knead the dough for a minute or two and then divide into 20 pieces. Roll each piece into a ball.

Preheat a large cast iron pan (Or skillet pan) over medium heat. Roll a ball into a thin round tortilla. Place onto the preheated pan and cook until it bubbles, about 1-2 minutes. Flip to the other side and cook for another minute. Place warm tortilla onto a plate covered with parchment paper. I place a dry and clean kitchen towel over the cooked tortillas.

And, enjoy!


Live Homemade

Live Simple


debt, Family, Food, money, pregnancy, Stay at Home Mom, Uncategorized, Women

Simple Homemade Bread Recipe

This bread recipe I have been making for a really long time. I just started to make it again because it is way cheaper, you know all the ingredients and it is super yummy! Homemade bread just tastes SO much better than store bought. In my opinion. It is super easy and there are not a ton of ingredients.

Here are a few tips to start out with: I make it with almond milk. Almond milk? Last night when I made it, I swear it actually tastes better than when I used regular milk. Try it out! I used Silk almond milk Regular. Im sure you can use any kind but that is what I used. If you want to use cow milk that is perfectly fine also, just giving you an option. I also used salted butter last night, I really do not like salt but when I went to Costco and bought butter…..I accidentally bought salted :(((  So if all you have is salted, It’ll still taste yummy! Also, this time around I used unbleached white flour, that was all I had in the house. I have used whole wheat also and it tastes great! If you want to try to have whole wheat flour I suggest starting with 50/50 blend. 50% white, 50% whole wheat. Whole wheat flour bakes a little differently so the bread texture is a little different. I have found that you may need more of less whole wheat flour versus white flour alone.

What you need: 2 bread pans or just cut the recipe in half to make 1 loaf. Easy. Cooking spray or just use butter in the loaf pan(s) so the bread does not stick. And of course the ingredients 🙂

Ingredients:

1/2 Cup Silk Almond milk

3 Tbsp Sugar

2 tsp salt

3 Tbsp melted butter

5 tsp yeast (I only use fleischmann’s yeast=amazing)

1 cup warm water

7 cups flour

Warm up your mixing bowl by filling the bottom up with warm/hot water. Let it sit for a minute and pour out.

  1. In warm mixing bowl add 1 cup warm water, yeast and 1 tsp of the 3 Tbsp. Set the rest of the sugar aside for later. Let yeast rise for about 5 minutes.
  2. Add melted butter, almond milk, sugar and salt to the yeast mixture. Mix until just mixed together.
  3. Add 4 cups of flour and mix with bread hook.
  4. Add 1 cup of flour at a time until your dough is sticky but not stuck to your finger when you touch it.
  5. Once you are done adding the flour mix the dough on low for 10 minutes.
  6. Take dough out and place onto a lightly floured surface.
  7. Grease the mixing bowl, I used butter to lightly grease the bowl. You can also you cooking spray if you like.
  8. Put the dough back into the greased bowl and place a clean and dry kitchen towel over the top. Let it rise for 1 hour. While you are waiting I suggest greasing the bread pans. Again, I use butter to grease the pans but you can use cooking spray. Clean up and relax and drink some coffee while your at it 🙂
  9. Once the hour is up; punch the dough down 2-3 times. Put the dough onto a lightly floured surface. Cut the dough in half and set one-half aside. Roll one-half of the dough into a rectangle. Make sure the length is not longer than the bread pan. Tightly roll the dough (width wise) and pinch together so there is no seem. Place the bread into the greased bread pan.
  10. Repeat with the other half of the dough.
  11. Cover the bread pans with a clean and dry kitchen towel and let it rise for one hour.
  12. Preheat oven to 400 degrees. I normally turn the oven on when I have 15 minutes left to wait.
  13. Place the bread carefully onto the middle rack in the oven and close the oven door super slowly so the bread does not collapse.
  14. Bake for 30 minutes
  15. What I’m going to tell you will sound painful but I honestly have never burnt may finger and I’ve done this A LOT. Put spit onto your finger and tap the middle of the pan to see if it sizzles. If it does then your bread is done. I was taught to test bread and rolls that way since I can even remember.
  16. Take bread out of pans right away. Let it cool on a cooling rack before slicing (good luck with that, HA) I love fresh out of the oven bread. Yum Yum


Enjoy!! I hope you love the bread as much as we do. We are already more than halfway done with the first loaf and I just made it last night.

Live Simple

Food, Uncategorized, Women

It’s pizza time!

This is the easiest and yummiest pizza recipe I have made so far! I absolutely love making homemade pizza from scratch and I have different toppings every time! This is a must make recipe 😃

Ingredients:

1 1/2 cups hot water

1 Tbsp. sugar

1 Tbsp yeast (freischmann’s active dry yeast) 

1/2 tsp salt

1 tsp granulated garlic

4 cups all purpose flour

Directions:

Preheat oven to 425 degrees.

Combine water, sugar and yeast into mixing bowl. I have found that the best way to have a no fail yeast rising is to warm up the bowl you are going to put it in first. I put really hot water in the bowl and let it sit for a minute, dump it out and then add the ingredients. Let it rise for about 5-10 minutes.


yeast mixture after 5 minutes
 
Add salt, garlic and flour and mix well. Dough sound not be super sticky. 

I put 1/2 cup flour on a dry and clean surface and roll out into whatever shape you are making your pizza. Today we did a rectangle pan pizza. We do circle, rectangle and hearts normally. 


dough on 1/2 cup floured surface
  
doug rolled out into a rectangle-ish shape. I dont try for perfection.
 
Place dough in a greased pan. I use the Kirkland brand of Pam. 

I roll the sides in

Put on ingredients. I used semi cooked broccoli and onions today. I normally use what we have on hand to save money. 

Place pizza in preheated oven at 425 degrees. I cook the pizza on the second rack from the bottom for 20 minutes and the. I put it on the top rack for 7 more minutes. 

Take it out, cut it up and enjoy!

   
 This really is such a yummy pizza it’s hard to just eat two pieces! 

From start to finish it took me a little less than one hour. 
Enjoy and live simple!