Stay at Home Mom

No bake Oatmeal Raisin Protein Bites

My husband and I absolutely loves Oatmeal Raisin Cookies. I was about to make my normal Healthy No-bake Energy Bites and Simple To Make and thought….hmm maybe I can try to make a different version that everyone would love. Ya’ll!! They are SO good! They taste like oatmeal raisin cookie dough. De-licious!! I really hope you get to try them and let me know how you like them.

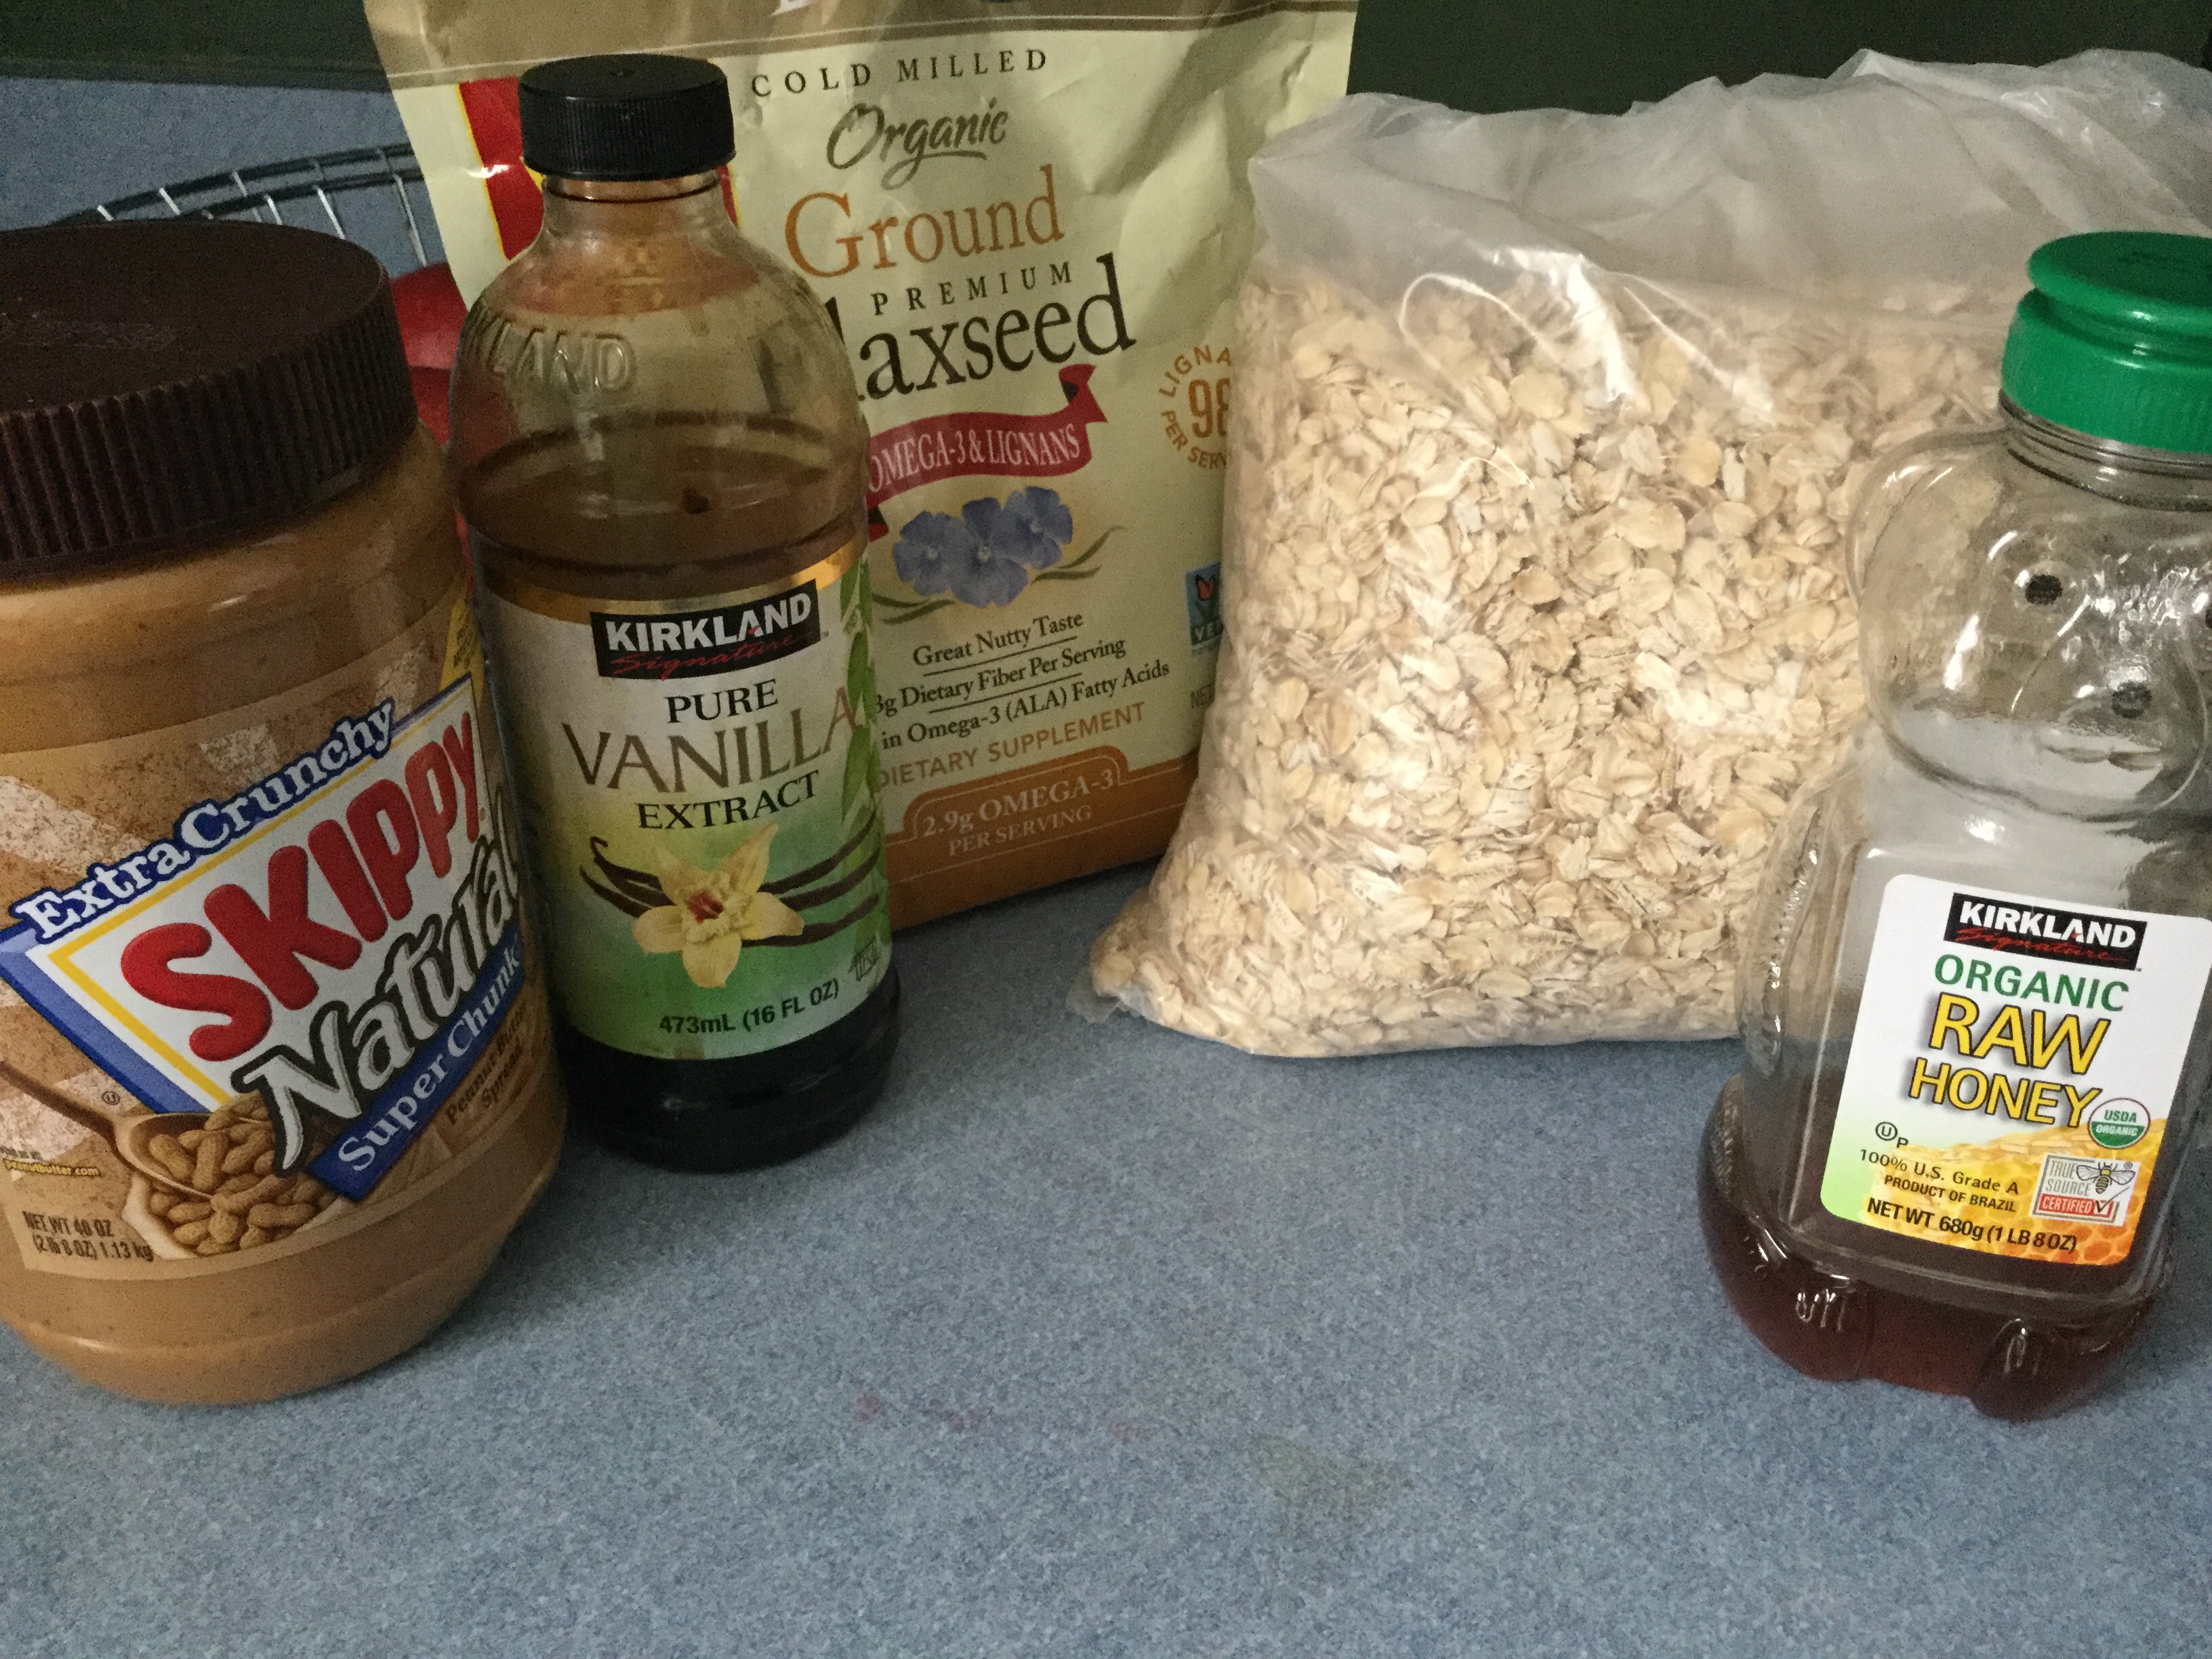
So I started out with the typical Oatmeal, peanut butter, flaxseed, honey, vanilla but this time I added; raisins and cinnamon. This time around I did not add a lot of cinnamon because I’ve done that before in recipes and it was not good. So to keep it on the “safe side” I added just enough. You can also tweak the recipe if you like more raisins and cinnamon. Oh and next time I’ll add my typical walnuts, I am out of those currently. 

Ingredients: 

1 cup Oatmeal

1/2 cup Natural Peanut Butter (smooth this time) 

1/2 cup Flaxseed

1/2 cup chopped walnuts

1/3 cup Organic Honey

2 tsp Vanilla

1/2 cup Organic Raisins

1 1/2 tsp Cinnamon 

Directions:

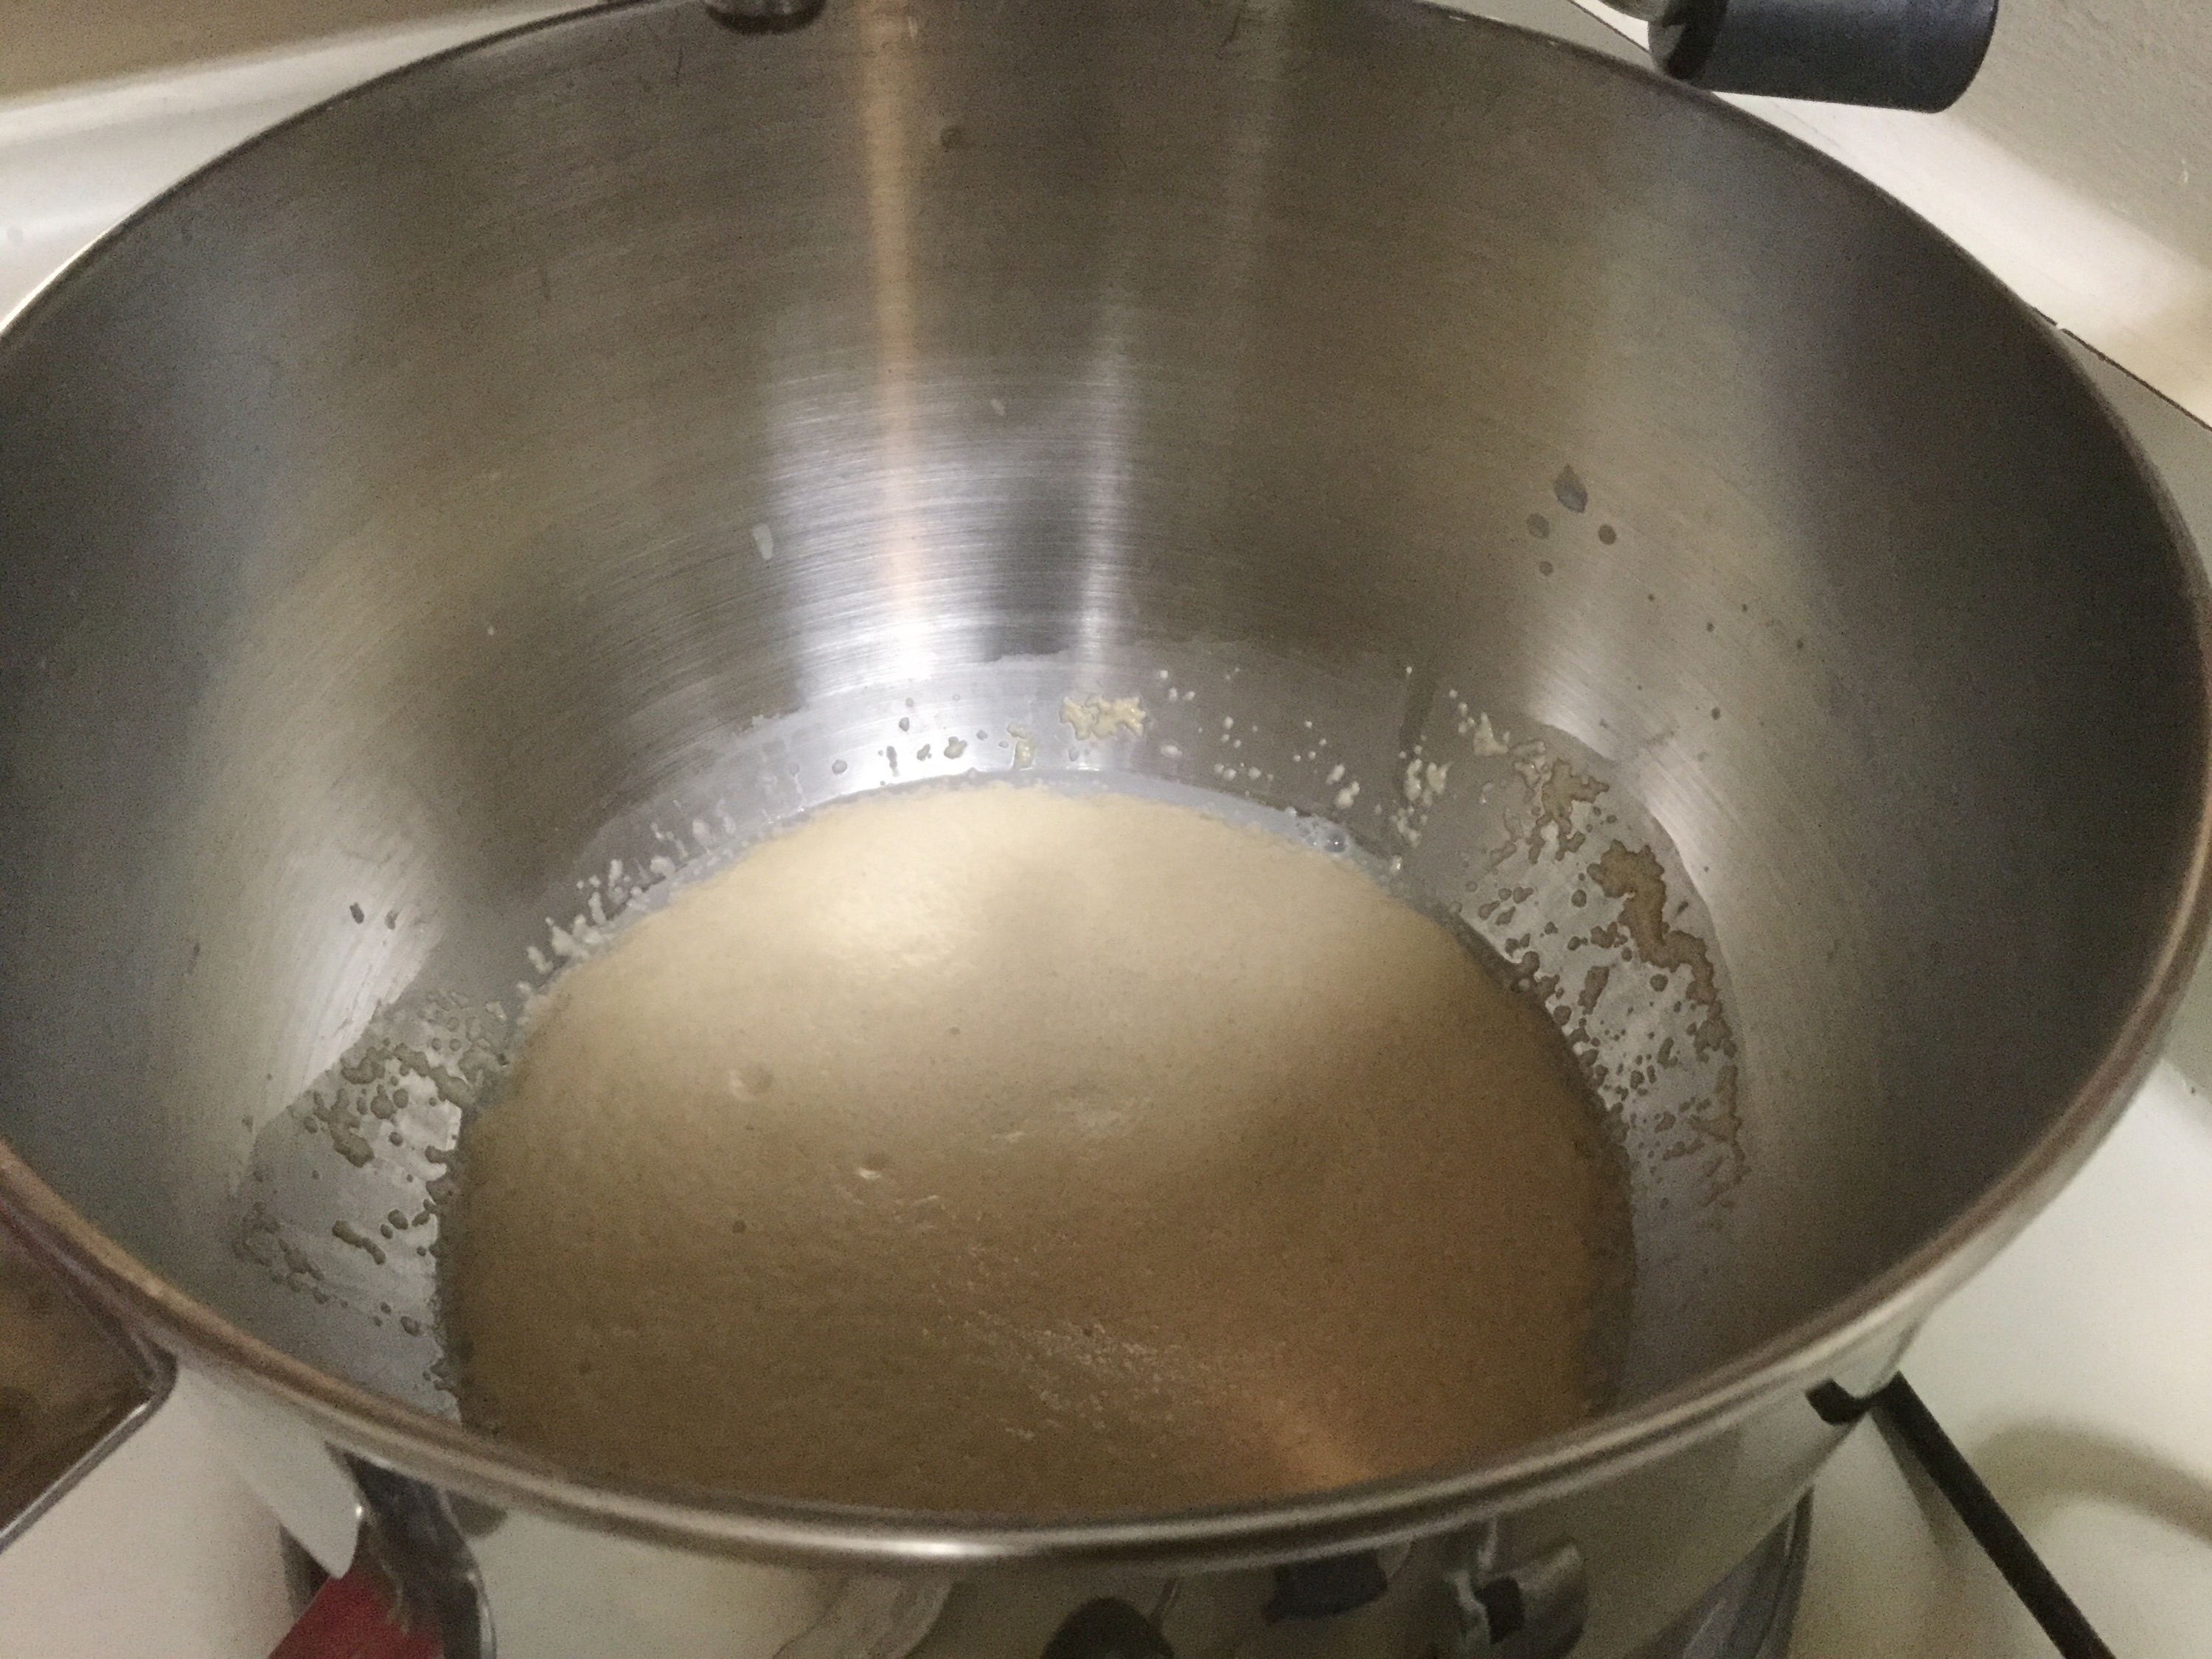
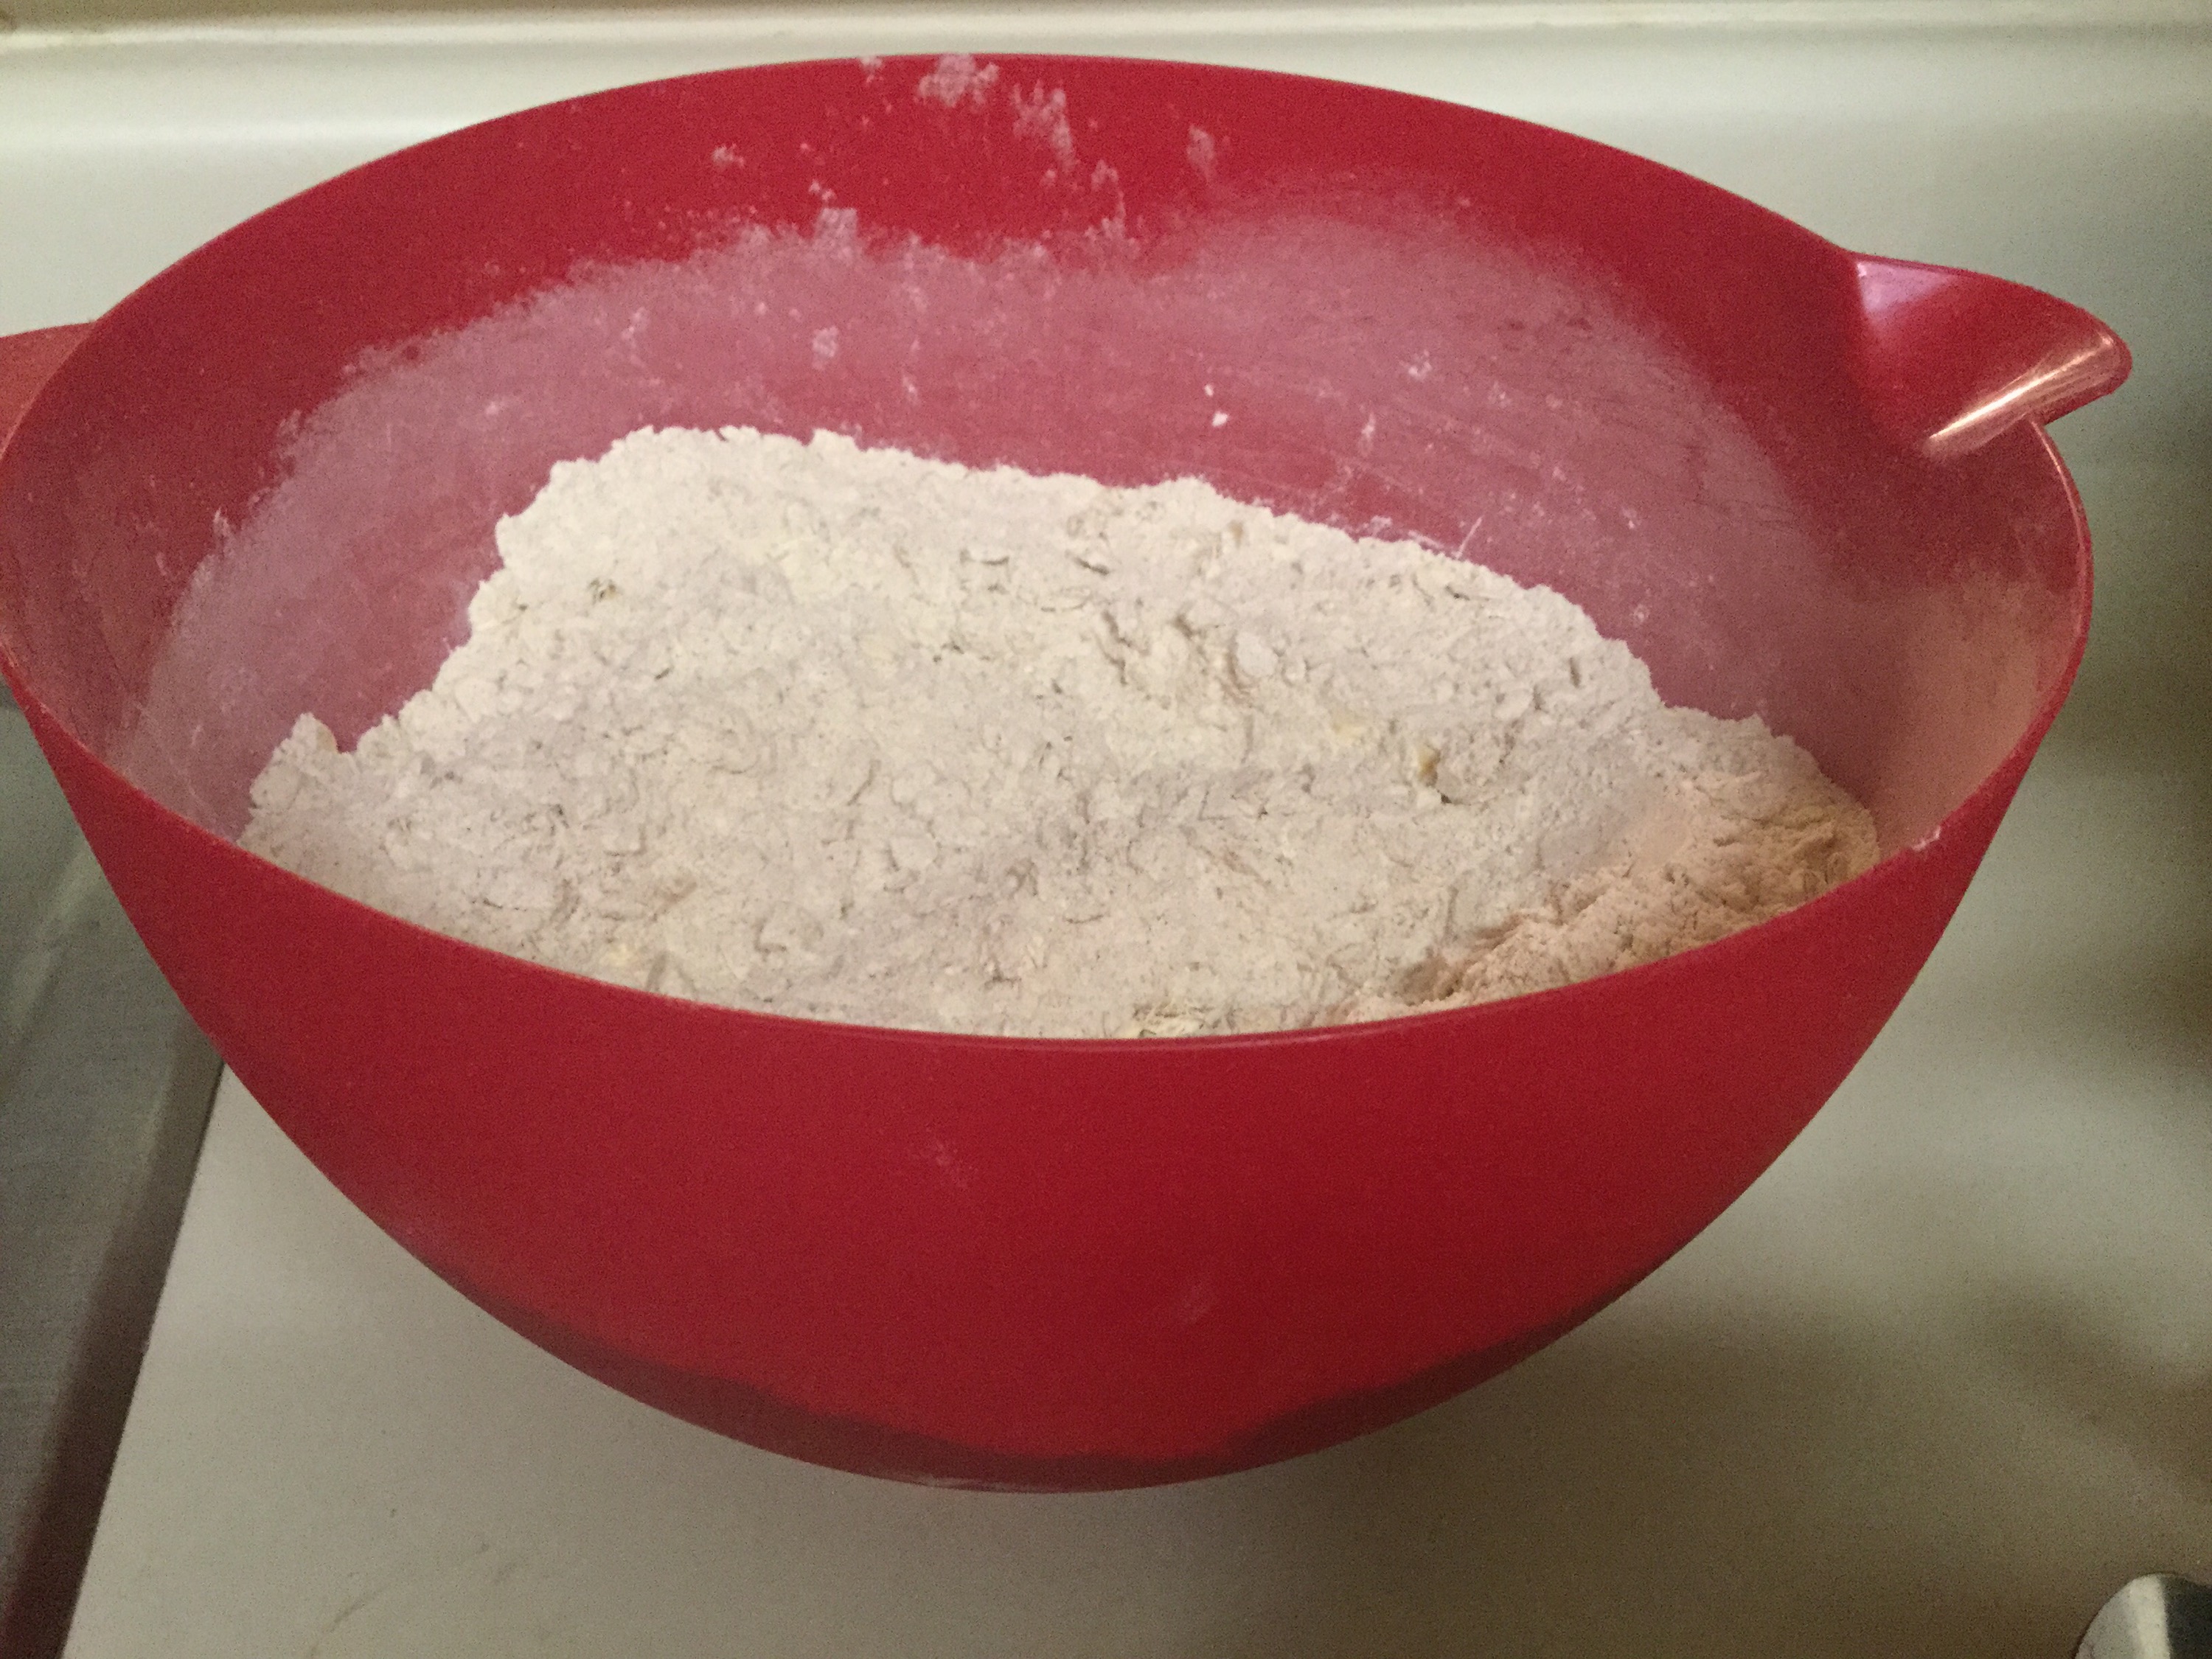
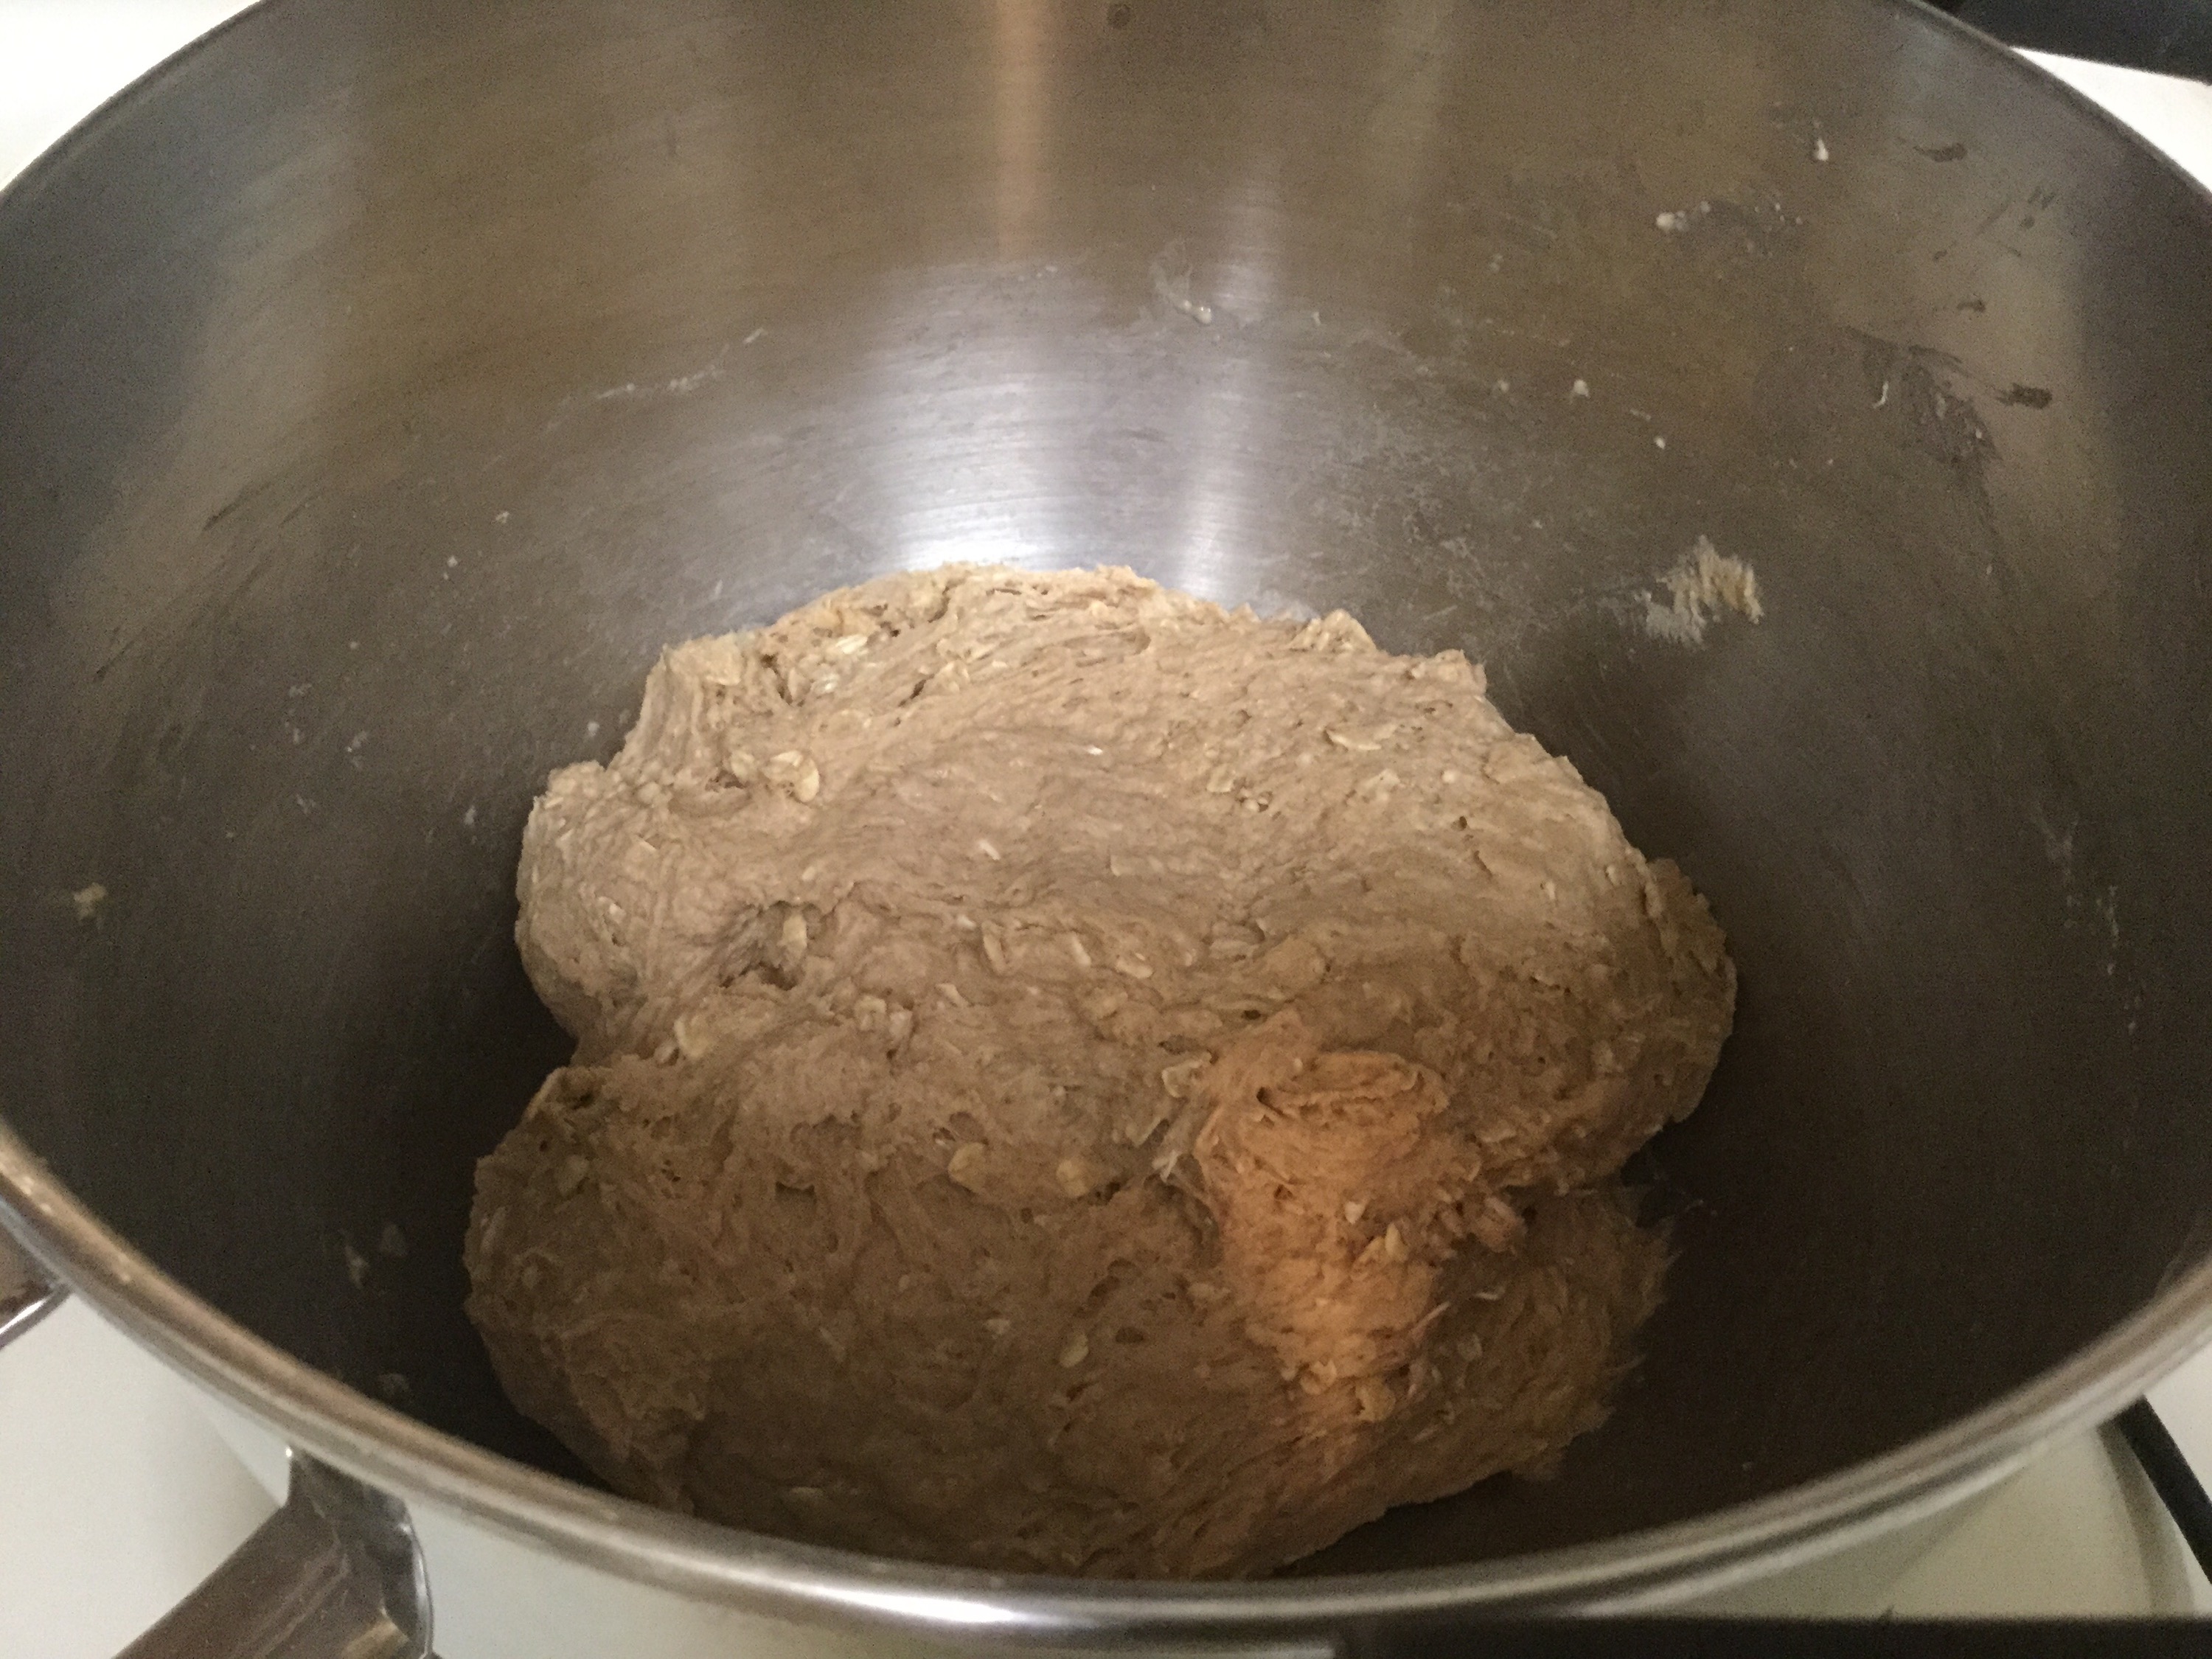
Put all ingredients in a food processor (I use a Ninja) and mix together. You’ll probably have to stop the mixer to scrap the sides to get it completely mixed together.

Once all mixed together, put it in the refrigerator for 30-60 minutes and then form them into little bites. 

I store them in a glass container and leave them in the fridge until I eat them. 
Enjoy!!

Live Healthy

Live Simple 

debt, Family, Food, money, Stay at Home Mom, Uncategorized, Women, workout

Let’s talk Mayo

I went through a period of time where I was grossed out my mayo (mayonnaise). I literally wanted to throw a sandwich at a lady who nicely bought me a sandwich with mayo on it. Just because I hated mayo so much. I know….what I jerk I was for thinking it. I do not think that way these days and would kindly accept it now. She didn’t know. Time changes people right? Yes. Well mayo has a bad reputation, the old styles of mayo that is. I was grossed out by my weight gain (in my early 20’s) that I went to the extreme on dieting. No gluten(That was the worst), no meat (terrible), no junk foods and drinking diet tea that is very unhealthy. So you could imagine what it would have been like to add mayo to anything. Yuck.

Fast forward to better eating habits. I started eating vegenaise which tastes good but it is hard to find. I had been eating that brand for many years. When we moved to Virginia I wanted to find it, so I looked everywhere over here. I couldn’t find it so I was on the hunt to find a better for you mayo. Well I found it and wanted to share. The brand I found is Just mayo. Truly delicious and better for you.  It even tastes better than the vegenaise brand I used to get. Yes I could go with the trend of using avocado as my mayo, but sometimes I just don’t want to use avocado for everything. After all, avocado is HELLA EXPENSIVE now. I would have to spend $20 a week to add avocado to everything. Moderation is key when it comes to avocados. Especially the price. We are on a beans and rice, rice and beans budget now. Ok, so anyway. This just mayo brand is truly the best price, taste amazing and healthier. My main thing that I look for with eating healthier is Non-GMO and no high fructose syrup. This is a Non-GMO mayo. So if you are looking for a better mayo to use, look no further. Just mayo Is perfect!


I also found an affordable, delicious and healthier bread made by a big brand. It is called Whole Grains with Omega 3 ALA made with Flax, Sunflower and sesame seed. It has no High Fructose Corn Syrup or Artificial colors or flavors.  I haven’t looked at the local store for it yet but have been able to buy it at Costco. It tastes amazing with Just Mayo and healthy shredded chicken. Chicken sandwiched are super yummy, higher protein and you get your great grains included! My husband and toddlers love it also. Its a win for all. Hope you get to try out these two brands and let me know how you like it or if you have tried these two brand yet.


Have a Wonderful day!

Live Happy

Live Healthy

Live Simple

debt, Family, Food, money, post partum, pregnancy, prenatal, Stay at Home Mom, Uncategorized, Women, workout

Healthy No-bake Energy Bites and Simple To Make

These are a favorite go-to snack for me and my kids. My 3 year old and 1 year old loves them. They do have ingredients in them that you should not give to your child until they are over 1 year old. Just throwing that out there. I have been making a similar recipe for many years now but this one I made a bit healthier so I can kick start my healthy eating. I eat an 80/20 “diet” but I I’m trying to kick it up a notch. I also make these for the women’s event at church and they absolutely LOVE them! I didn’t tell anyone I made them just to see if they liked them, people kept going back to get more. They are also such an easy grab and go snack. I put three into a snack size Ziploc and take it to go. Super easy and healthy.

I hope you make these and enjoy them as much as we do!


Ingredients (picture below):

1 Cup Oatmeal

1/2 Cup Peanut Butter (I use natural, super chunky peanut butter to add more crunch to it, YUM!)

1/2 Cup Flaxseed

1/2 Cup Walnuts (I chop them up in the food processor)

1/3 Cup Honey

1 tsp Vanilla


Directions:

Put all the ingredients into a food processor and mix. I typically have to scrape the sides 1-2 times in the mixing process. You could just put everything in a mixing bowl and mix until all together if you do not have a food processor.

Put them into the fridge (I just leave them in the food processor) for 30-60 minutes.

Take them out and roll them into small bite size balls.

Put them into a container and put them back into the fridge.

Take out what you need and keep them rest refrigerated.

They are super simple and easy to make.


Enjoy!!


Live Healthy

Live Simple


Stay at Home Mom

Wrinkles, Fine Lines and Dark Under Eye Circles……

We are all unpacked and settled into our new home. We are SO incredibly thankful to have the opportunity to live here. It is our dream spot to live. Seriously 🙂 This is the third time I have gone for a little 3 mile jog with my boys since we moved. The first time it wasn’t humid or hot and I had one boy. The last two times it has been hot and humid and I pushed both boys up and down little gradual hills. I was dripping in sweat when I got home. Thank goodness for that. I love working out and sweating.

Now I can get back to what I was originally going to do. Change my beauty routine. I am getting older as we all know 😉 and that calls for a revamping of my vitamins. I have been researching for about a year or so (I know, a very long time) and finally want to try things out. Since we are absolutely done having babies I can start to look like my husbands girlfriend again 😍 I have about a year left with breastfeeding so I’m trying not to add products but more about changing my diet. I have dark under eye circles and it didn’t start until I starting watching what I ate about 10 years ago. I firmly believe that I have them due to vitamin deficiency or my contacts. If I don’t see improvements in a month or so, I’ll try to go with out contacts. I get plenty of sleep and I drink a lot of water. Maybe hereditary? But I’m going to try my best to get rid of them. I have read many places that you can reverse the effects of vitamin deficiencies without pills and that’s my goal. Plus I love food…..so that’s my best option.

Here are a few things I’m going to try.

1. Apply a very small drop of avocado oil to my under eyes before bed. I read that it is a fast absorbing oil so it doesn’t leave you feeling greasy. Unlike coconut oil. I despise coconut oil. Don’t like it, never liked it.

There are studies saying that avocado oil improves and diminishes fine lines, wrinkles and age spots. Also it lightens dark under eyes. We shall see 🙂 maybe I should bath in it……..ha ha! The more I read about avocado oil, the more I fall in love with it. That’s the only oil I use to cook with now. It has the highest smoking point of any plant oil. Amen to that!

2. Adding more vitamin rich foods into my diet.

Vitamin K especially, which include these foods:

  • Brown rice
  • Eggs
  • Oatmeal
  • Sweet potatoes
  • Milk (I prefer almond milk personally)
  • Walnuts
  • Yogurt
  • Wild salmon
  • Spinach
  • Wheat

Also, vitamin A plays a vital role towards keeping your skin healthy. Vitamin A protects your skin from sun damage and helps repair your skin. It plays a crucial role in keeping the collagen in your skin balanced.

The most concentrated sources of vitamin A are:

  • Sweet potato (it made both lists)
  • Pumpkin (hello fall! I absolutely love fall!)
  • Carrots
  • Squash
  • Green, leafy vegetables

I also read to place pumpkin slices over your under eye area for a few minutes daily. Since they are not in season I’ll wait for fall to arrive.

Vitamin E & C also have anti wrinkle benefits.
This is what I have found online and it’s really great information.
I look forward to taking before and after pictures and let y’all know what has worked and hasn’t worked for me.
I’m curious if anything has worked for you? What did you use?

Live healthy

Live happy

Live simple

Food, Uncategorized, Women

Whole wheat bread with oats and almond milk recipe

I know what some of you might be thinking…..gross! But hear me out. I am experimenting with different recipes to make our “normal” every day’s foods a little bit healthier. I came across a recipe and had to try it out. I altered it a bit and it came out amazing! I have to share my version of this recipe. 

Ingredients:

1 cup water

1 cup almond milk  (I used vanilla unsweetened 30 calorie Silk Almond Milk)

2 1/4 teaspoons (Fleischmann’s active dry yeast)

2 tablespoons honey (sue bee)

4 cups whole wheat flour (King Arthur whole wheat , whole grain flour)

1 cups all-purpose flour (Costco brand)

1 cup rolled oats (Quaker oats, regular)

4 tablespoons unsalted butter, melted and cooled slightly (Costco brand)

1 teaspoon salt (mortons) 

Directions:

In a microwave safe bowl Combine water and almond milk and Microwave for 30 seconds until warm. Add yeast and honey. Let mixture sit until yeast is foamy. 

Pour into mixing bowl

Add flours, oats, butter and salt. Using a dough hook, knead on medium speed about 6 minutes until dough is smooth, elastic and only slightly sticky. Keep dough in bowl and cover with a clean kitchen towel. Let rise in a warm place about 1 hour until doubled. I check mine at about 30 minutes and it’s normally close to doubled. 

When dough is doubled, punch down and transfer to a lightly floured surface. Press into an 9×9 inch square, tuck sides in (about 1 inch each side) and roll up into a log. Press seems together to seal the dough. Transfer to a lightly greased (Pam or butter) 9×5-inch loaf pan, seam side down. Cover with the same clean towel and let rise about 30 minutes until dough reaches the edges of the pan.

Heat oven to 400 degrees F (375 degrees F if loaf pan is dark or nonstick). 

Bake 40-50 minutes. 

You can rotate the pan halfway through but not required. 

Bake until loaf is deep brown on top and bottom sizzles when you tap your wet finger on the bottom of pan. (FYI: That is how our family has always done it but be careful not to burn yourself. I have never burnt myself but if you haven’t done it before just remember to tap the bottom with a wet finger not hold your finger there.)

Let loaf sit for 5 minutes and then remove from loaf pan onto a cooling rack. I normally cut the bread and put butter on it soon after so I get to taste the freshest bread ever 🙂 

Enjoy! I hope you like it as much as our family does!


water, almond milk, honey and yeast foamy
  
i mix the flours, oats and salt together and add to yeast mixture
  
after 6 minutes of kneeding
  
after 30 minute rise